
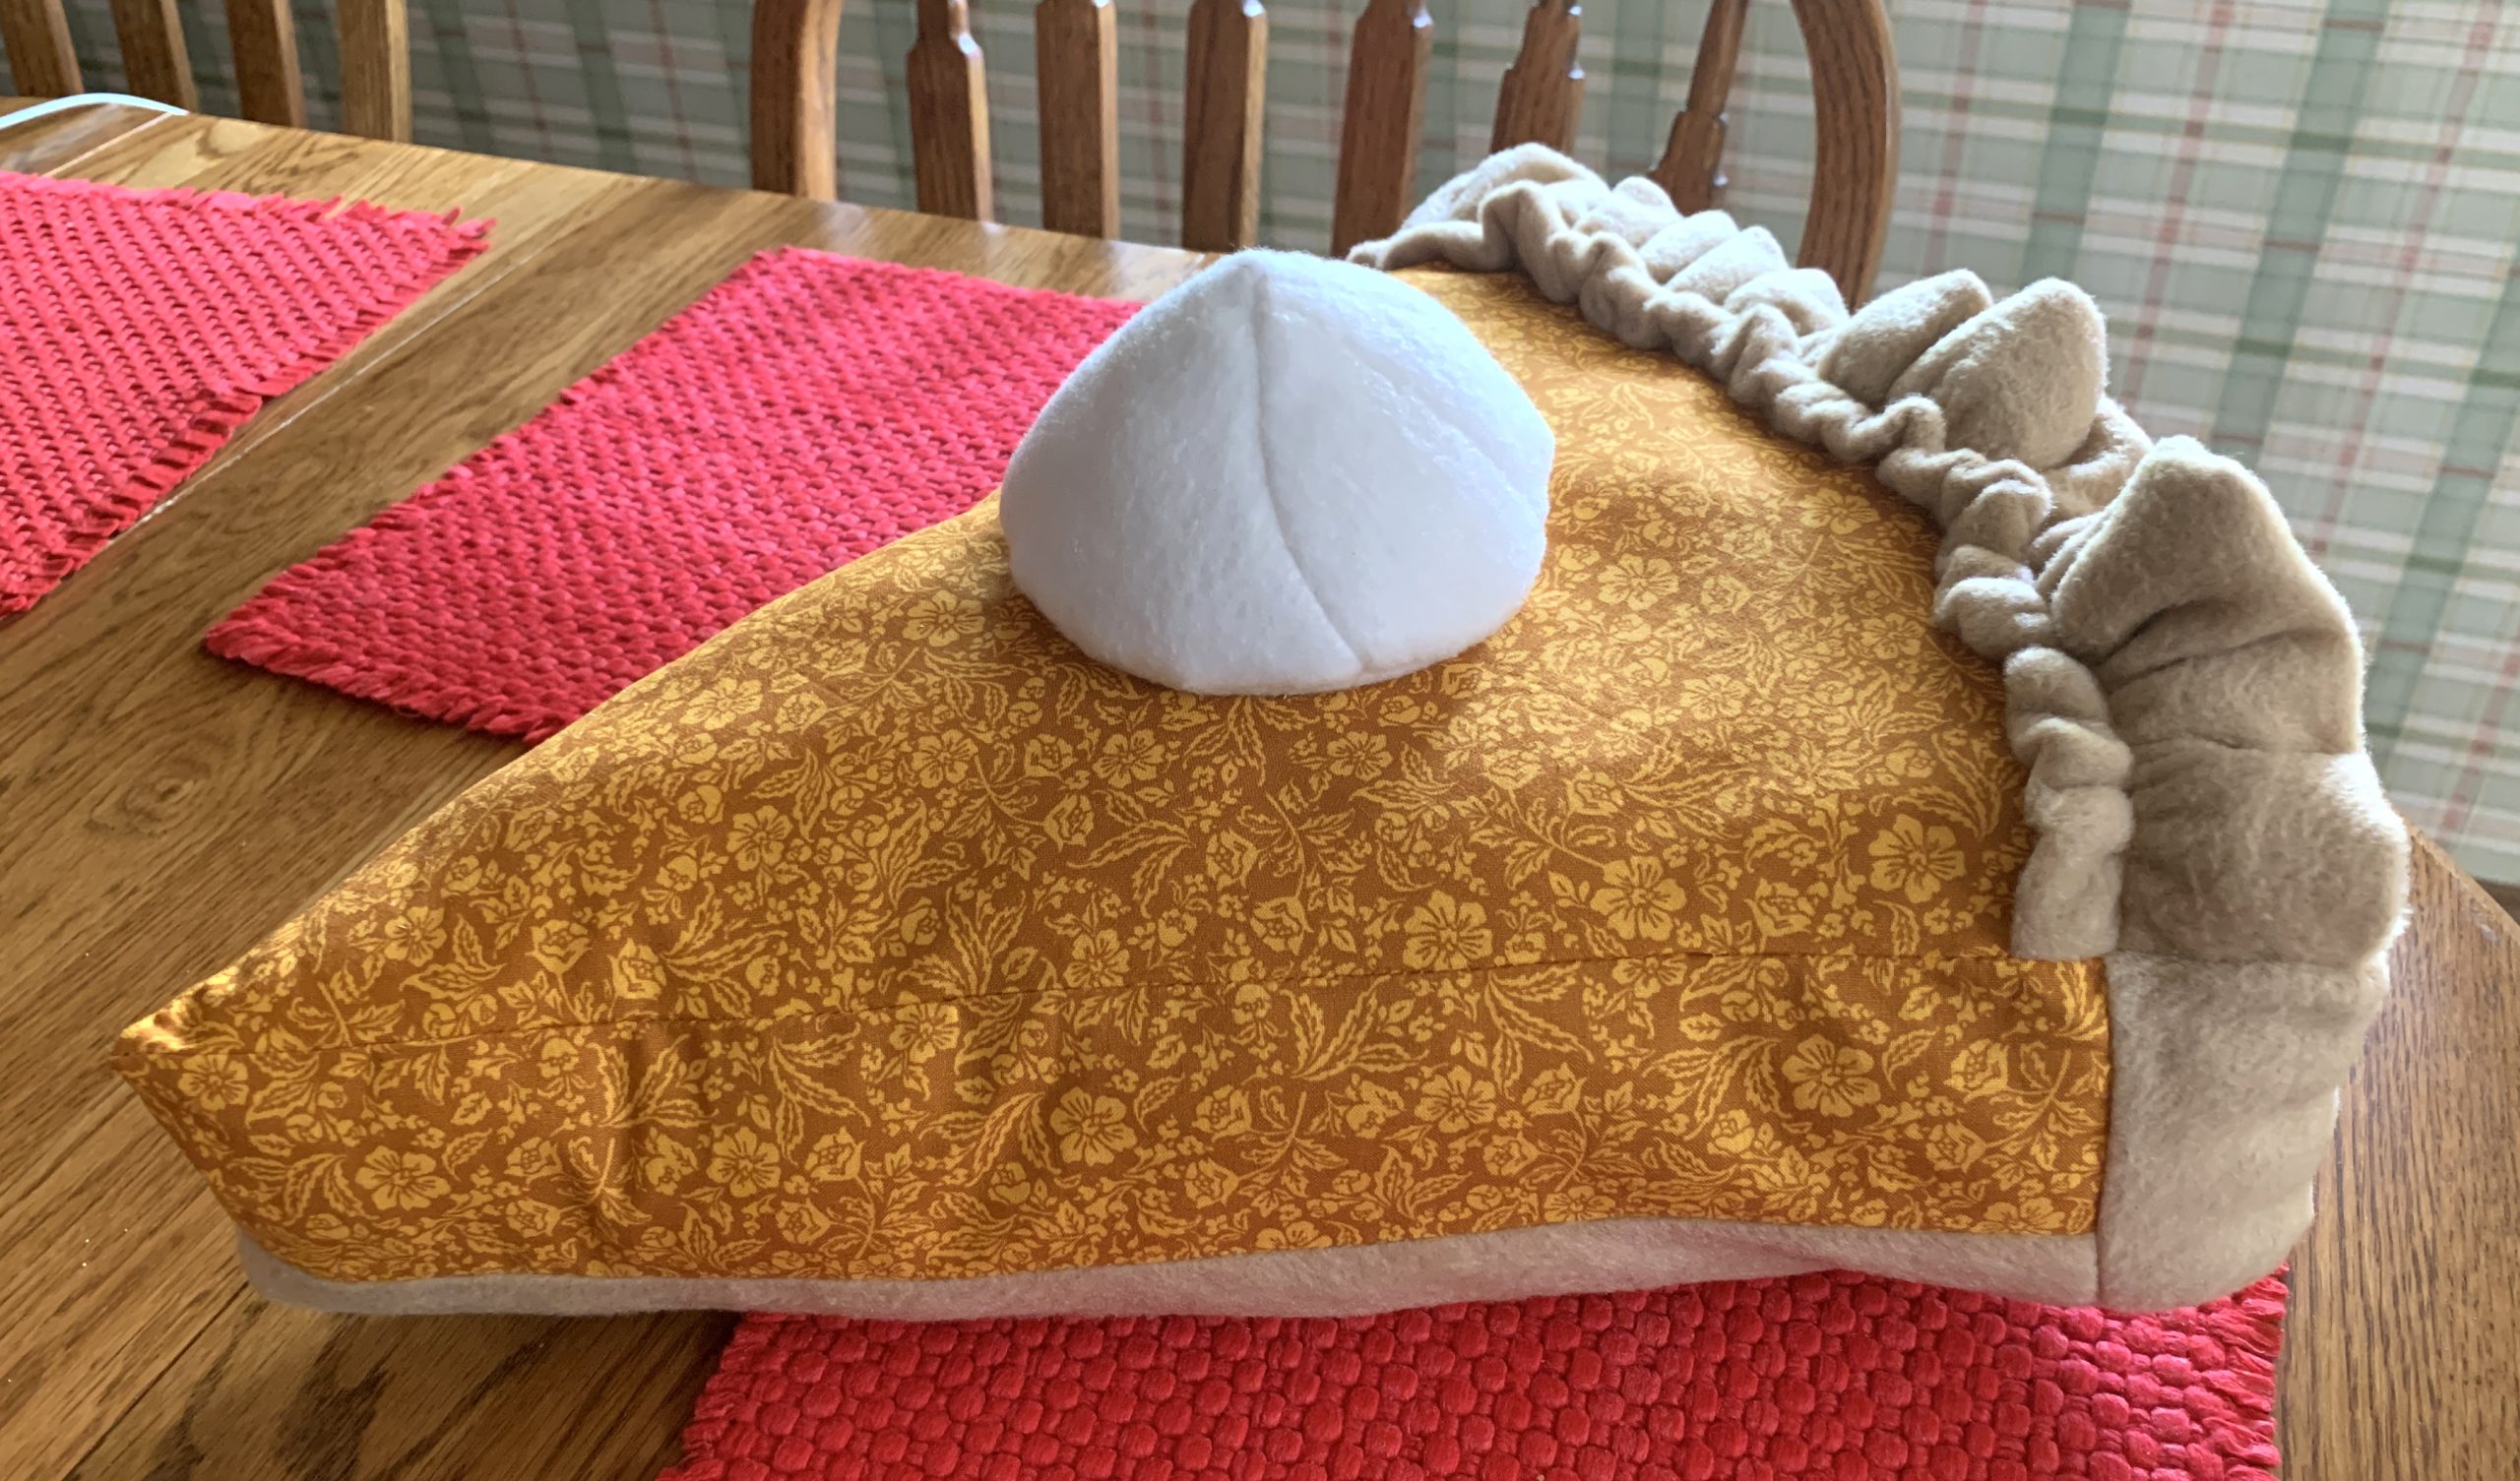
Pumpkin Pie Pillow Tutorial – Sew Up Some Yum!
I love creating shaped pillows in fun designs, and thought a “Pumpkin Pie Pillow” would be a great addition. Sewing shaped pillows is somewhat advanced and not a beginner project. If you would like to see a couple other creative pillows, check out my Rubik’s Cube pillow and IDunnGoddess’ Fidget Spinner pillow tutorials!
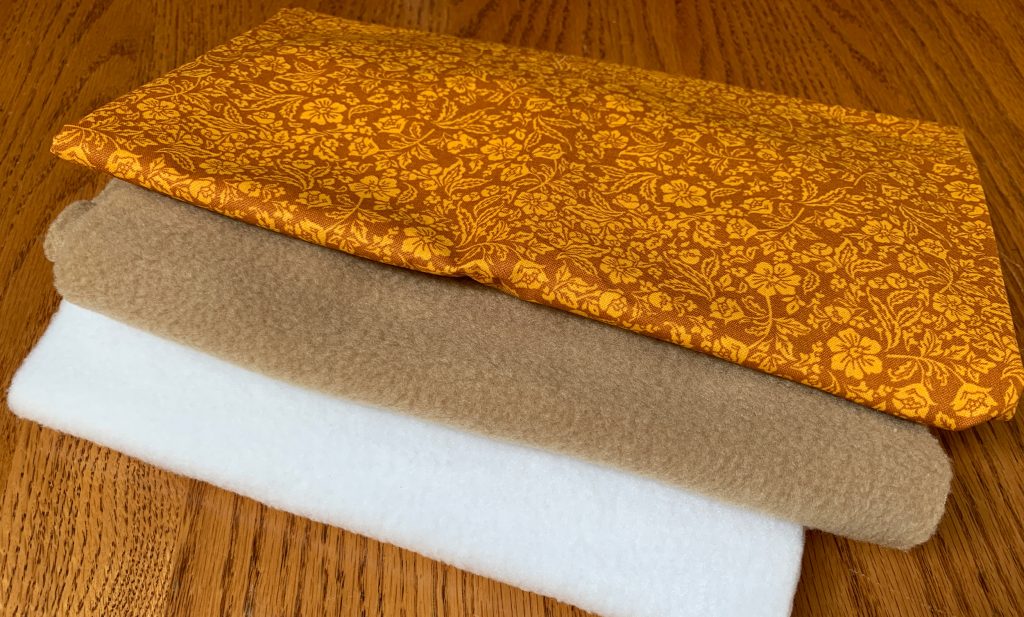
Supplies: (I found all these at Walmart in the 1 yard precuts)
Cotton quilt weight fabric in “pumpkin pie” color
Fleece in “pie crust” tan
Fleece in “whipped cream” white
Polyfil for stuffing
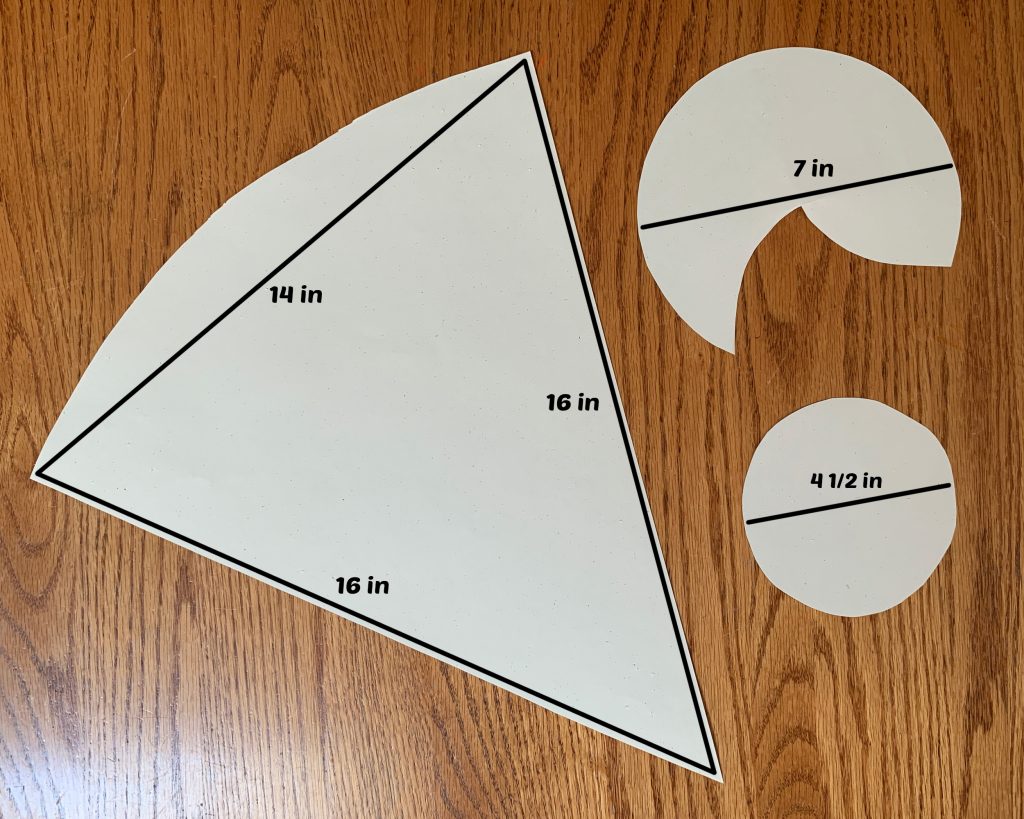
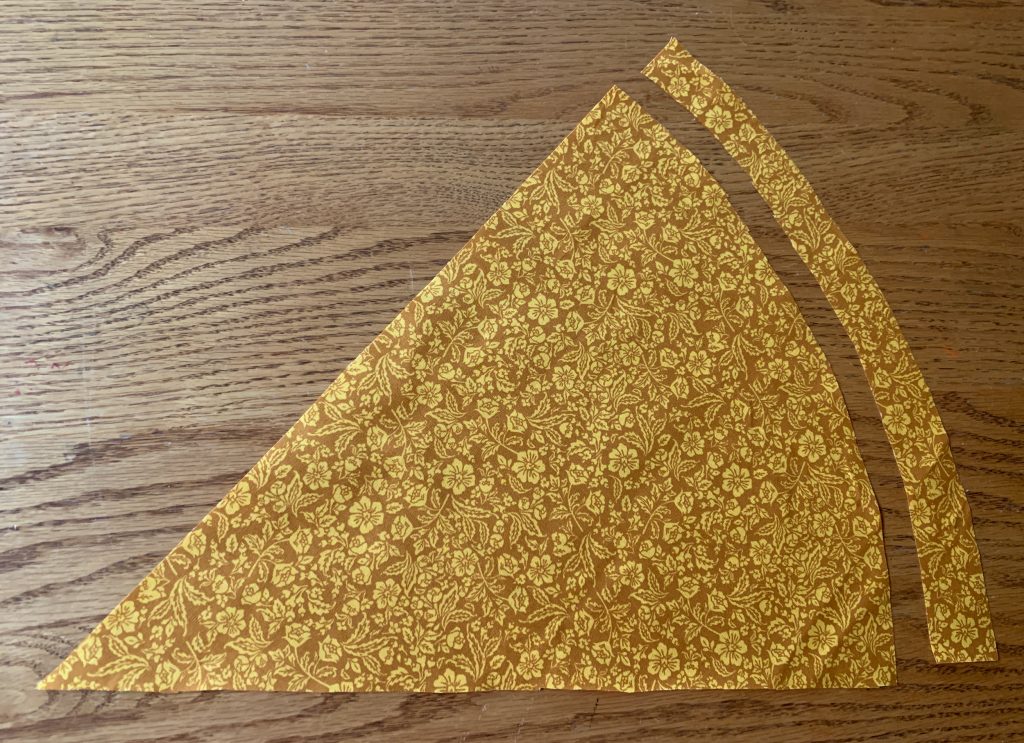
To start, create paper templates – triangle and two circles as shown below. To draw the arc, tie a pencil to the end of a 16 inch string and hold one end at the point and draw the arc over the 14 inch side.
Note that the fleece has a right and wrong side – one side is slightly fluffier. Also avoid stretching the fleece when working with it. All seam allowances are 1/4 inch.
Cut the top and bottom of the pie.
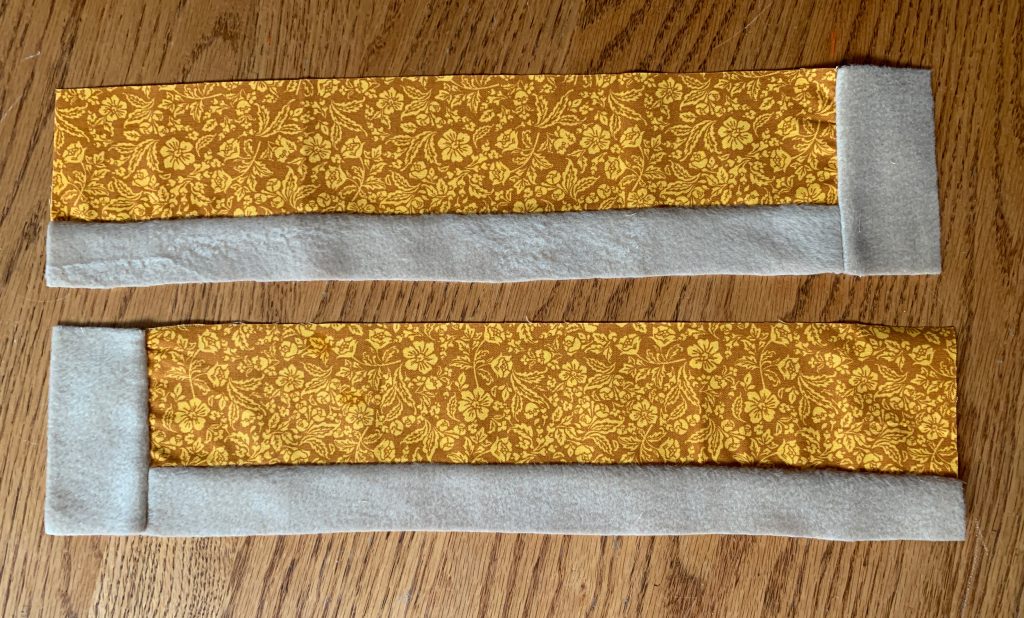
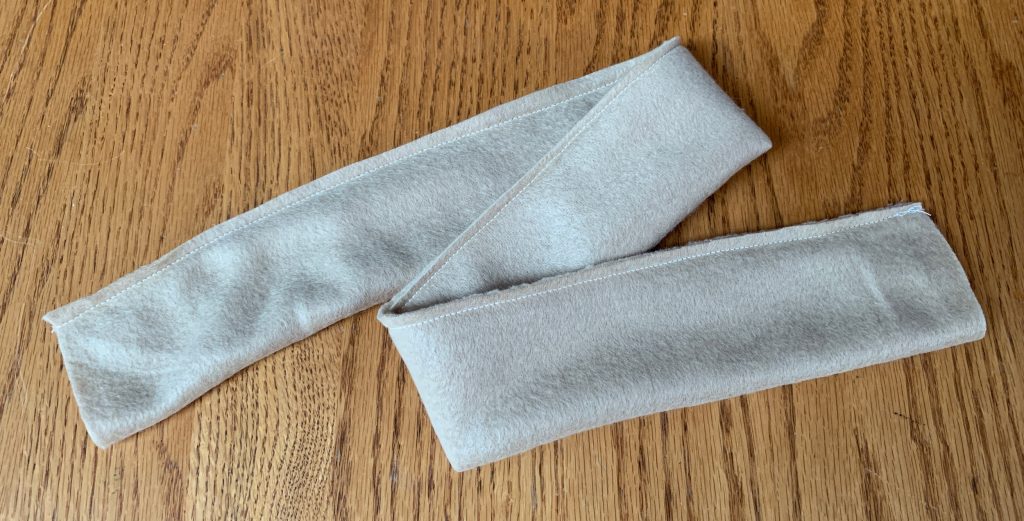
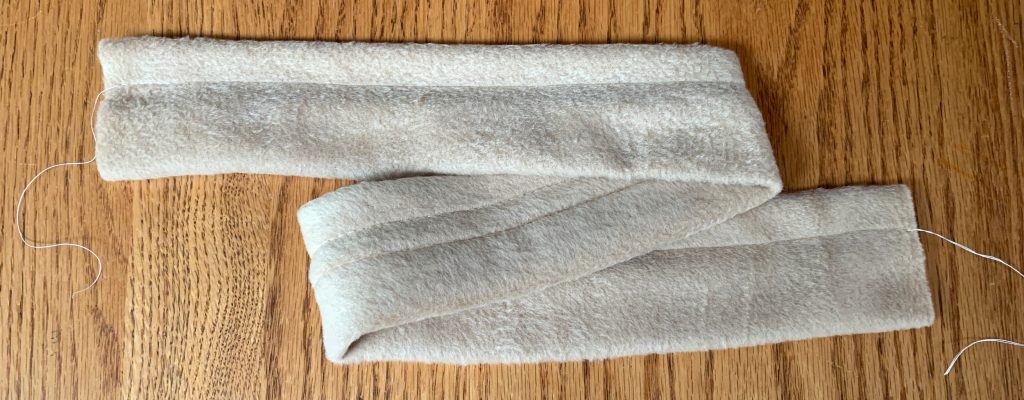
Cut 2 sides of the pie and sew together:
2 pumpkin fabric 14.5 x 3 inches
2 crust fabric 14.5 x 1.25 inches
Cut 2 crust ends and sew together (be sure to sew one on the left end and one on the right end):
2 crust fabric 2 x 3.75 inches
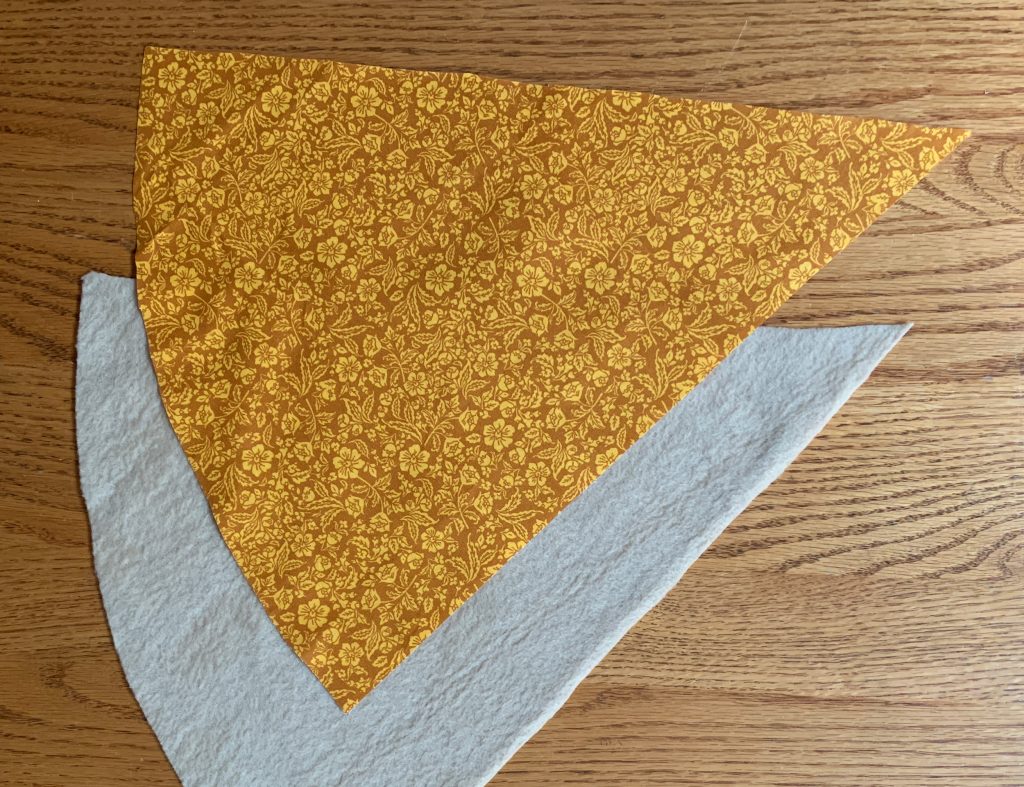
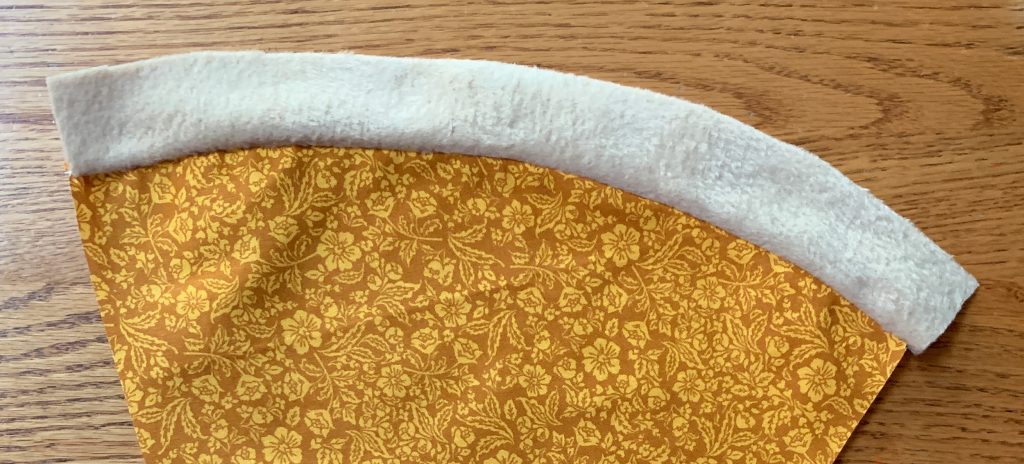
Cut 1 1/4 inches off the arc of the pumpkin fabric triangle.
Use a scrap crust fabric piece to cut a matching crust arc, adding 1/2 to the inside arc (this adds the seam allowance).
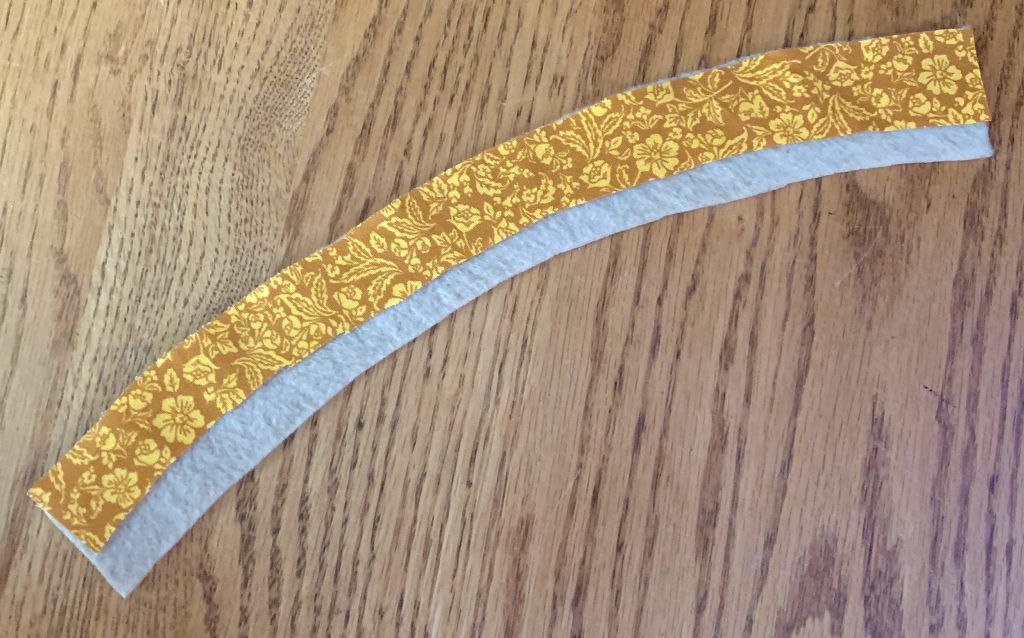
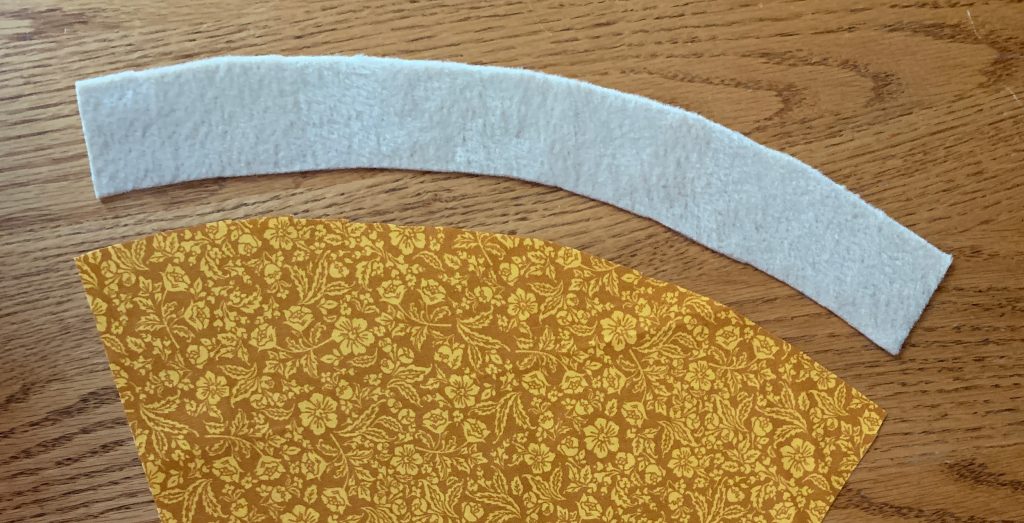
Then sew onto the pie top.
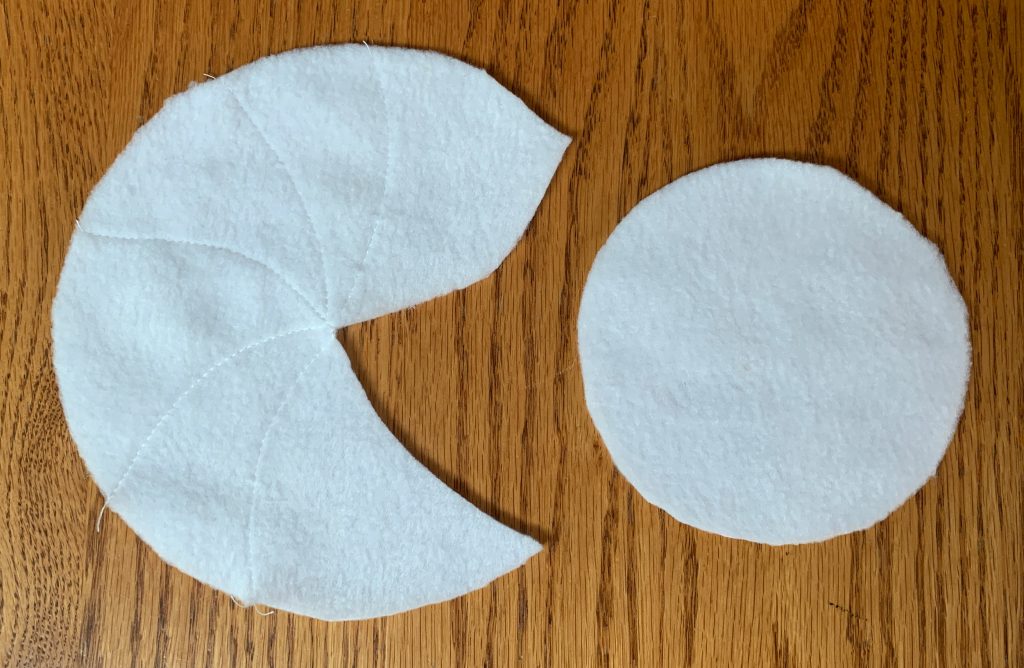
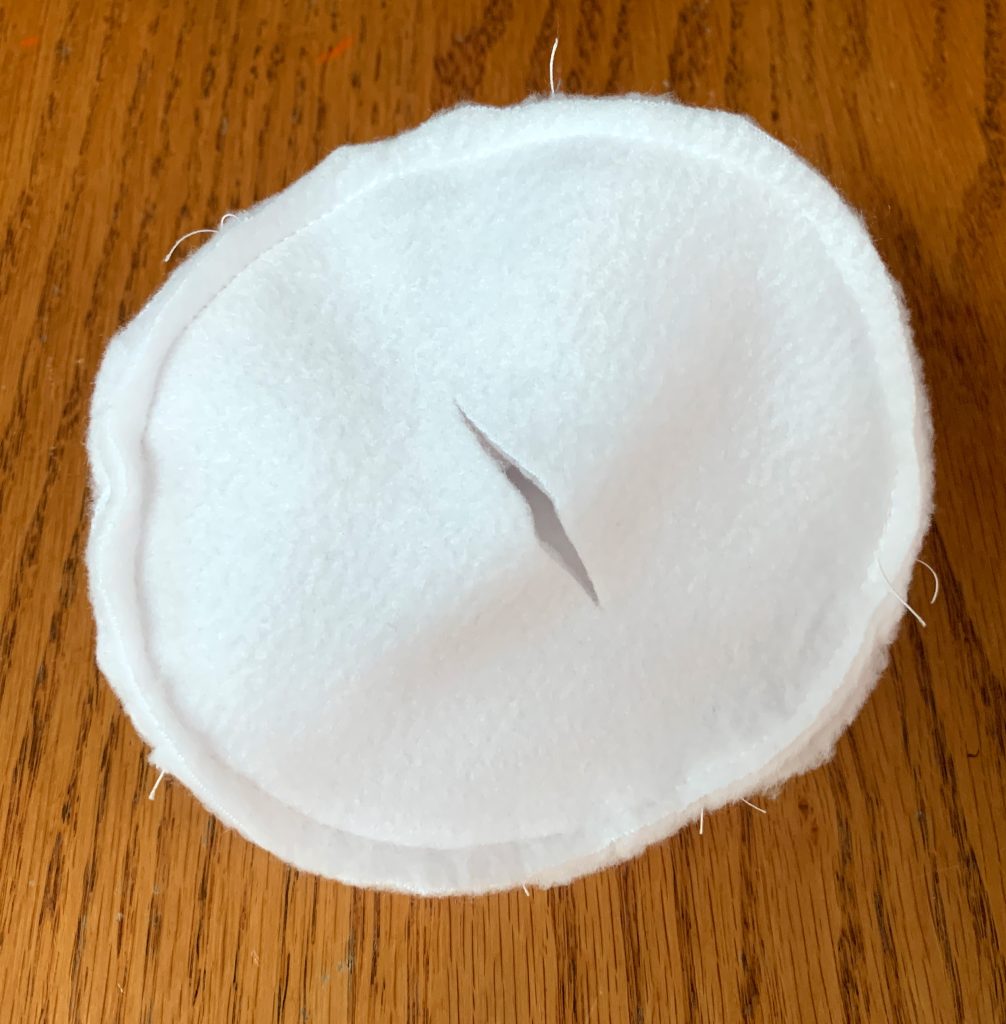
To make the whipped cream dollop, cut out the two circle templates in white fleece. To cut the indent in the 7 inch circle, use the image as reference – it doesn’t need to be exact. Stitch in the dollop lines as shown. Sew the indent area in the large circle together, using a small seam allowance.
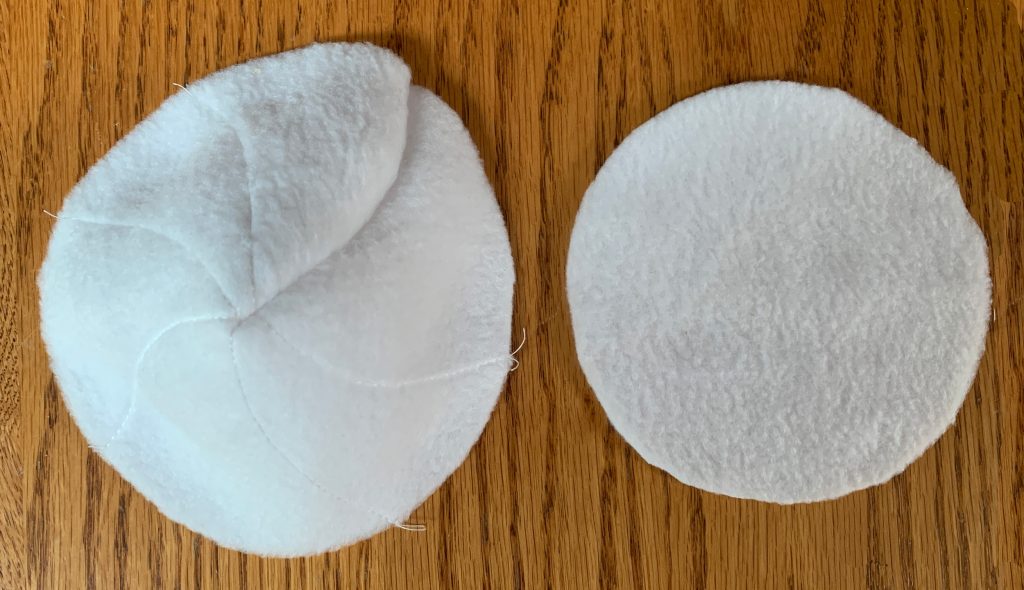
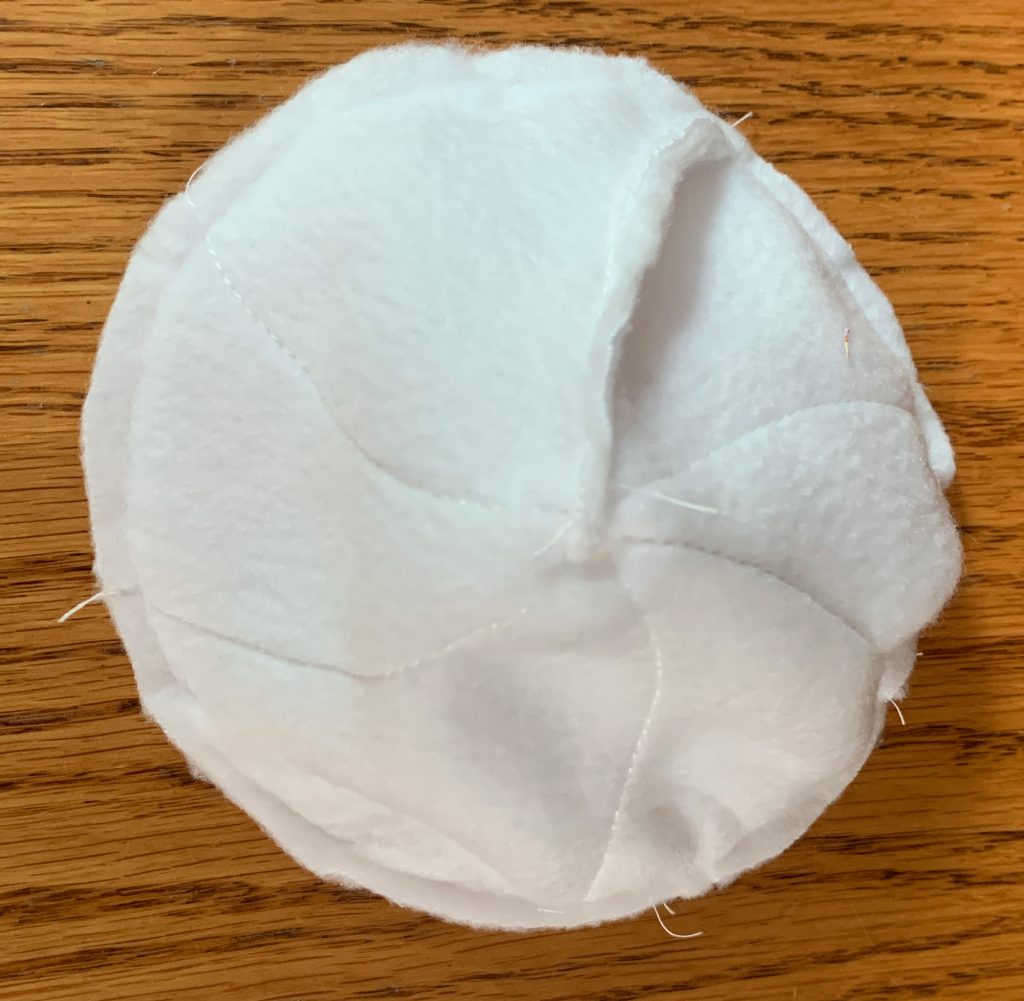
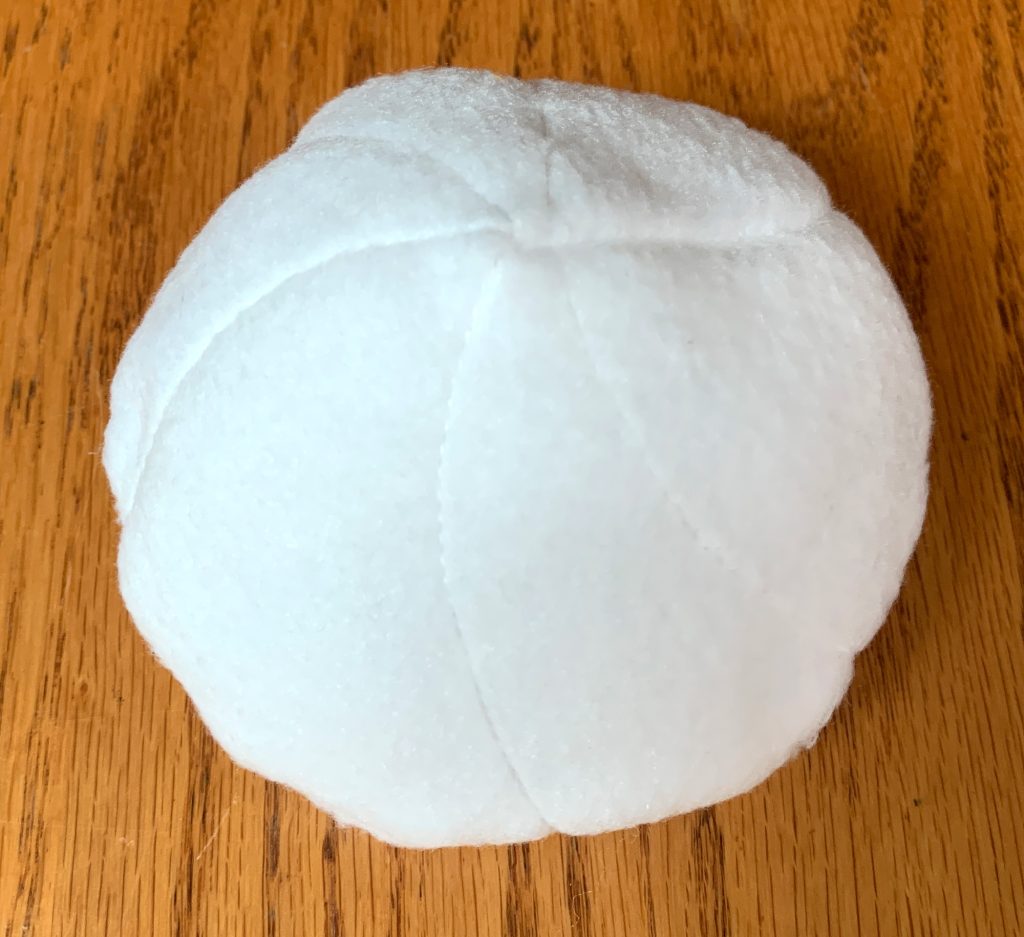
Sew the large circle onto the small circle, right sides together as shown. Cut a slit on the bottom and turn right side out. Stuff with polyfil to make a dollop.
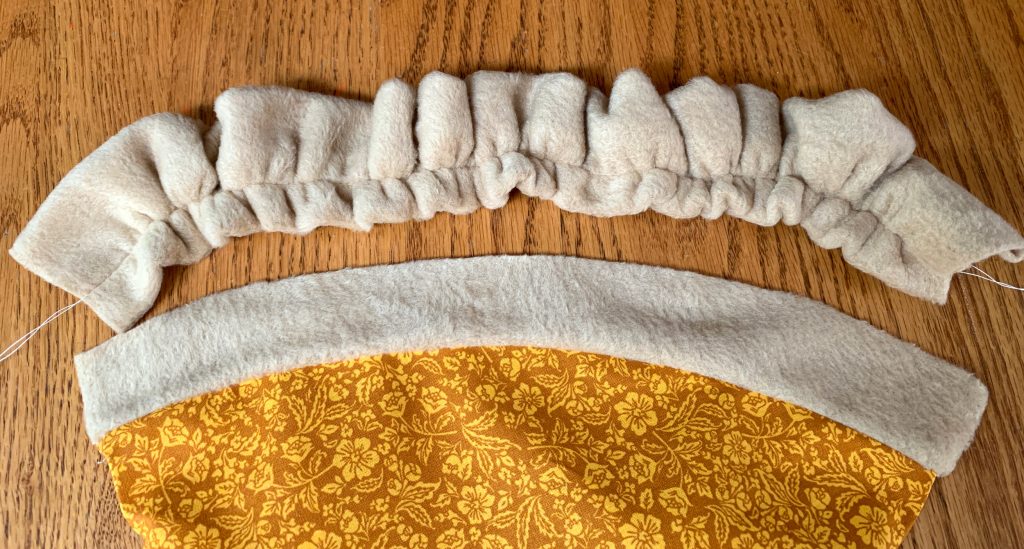
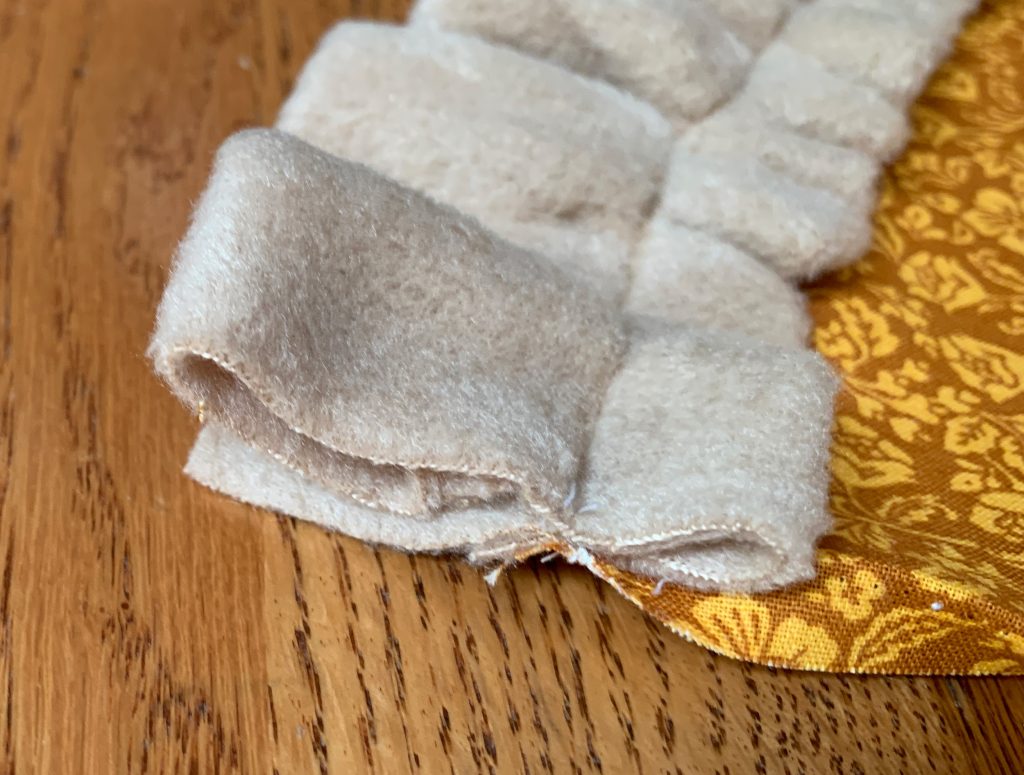
To create the crust ruffle, cut a crust fabric 5 x 30 inches. Sew into a tube. Turn right side out. Sew a basting stitch (longest stitch on your machine) 1/2 inch from the edge. Carefully pull top threads on both ends and gather crust to the same length as the triangle arc. Sew onto the triangle top, sewing along the seam between the crust end and pie as shown. (Note: be sure the ruffle ends do not overhang the end of the triangle because it has to tuck inside when attaching the sides.)
Sew the pumpkin sides together at the point.

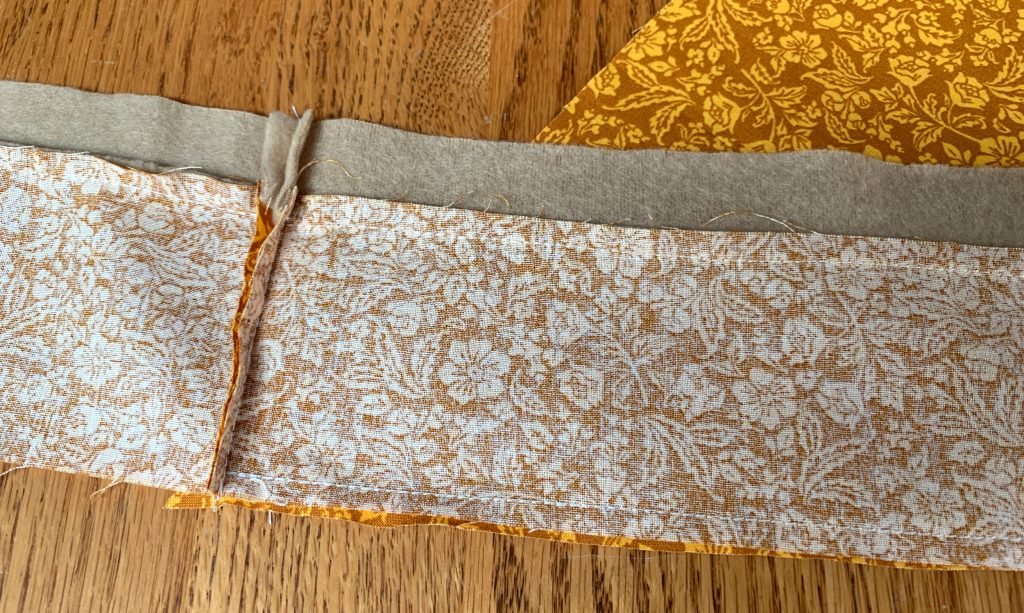
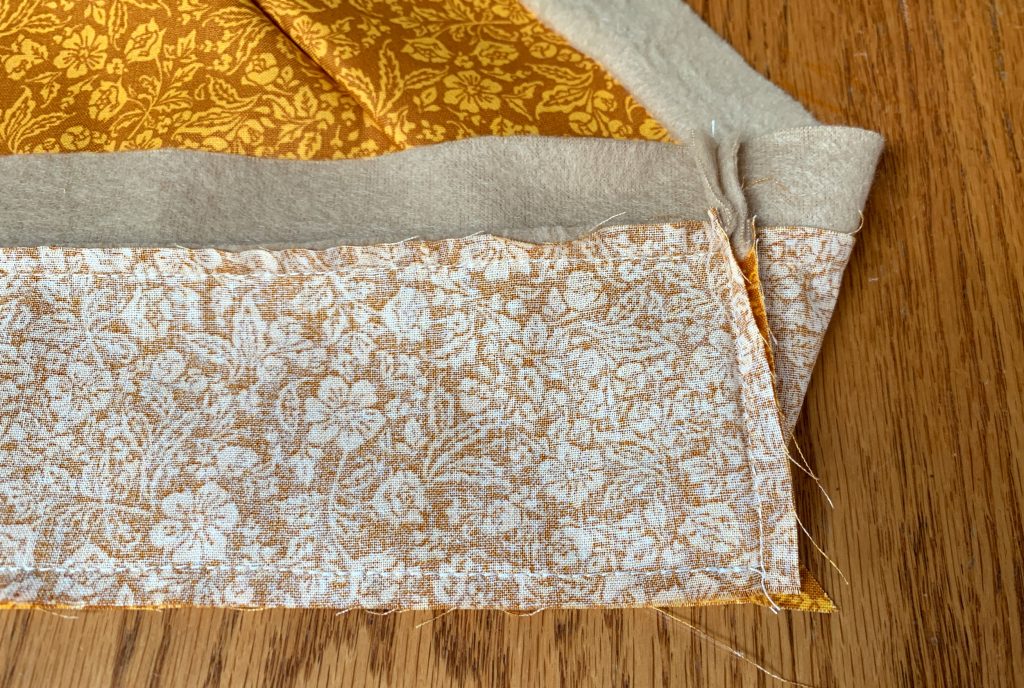
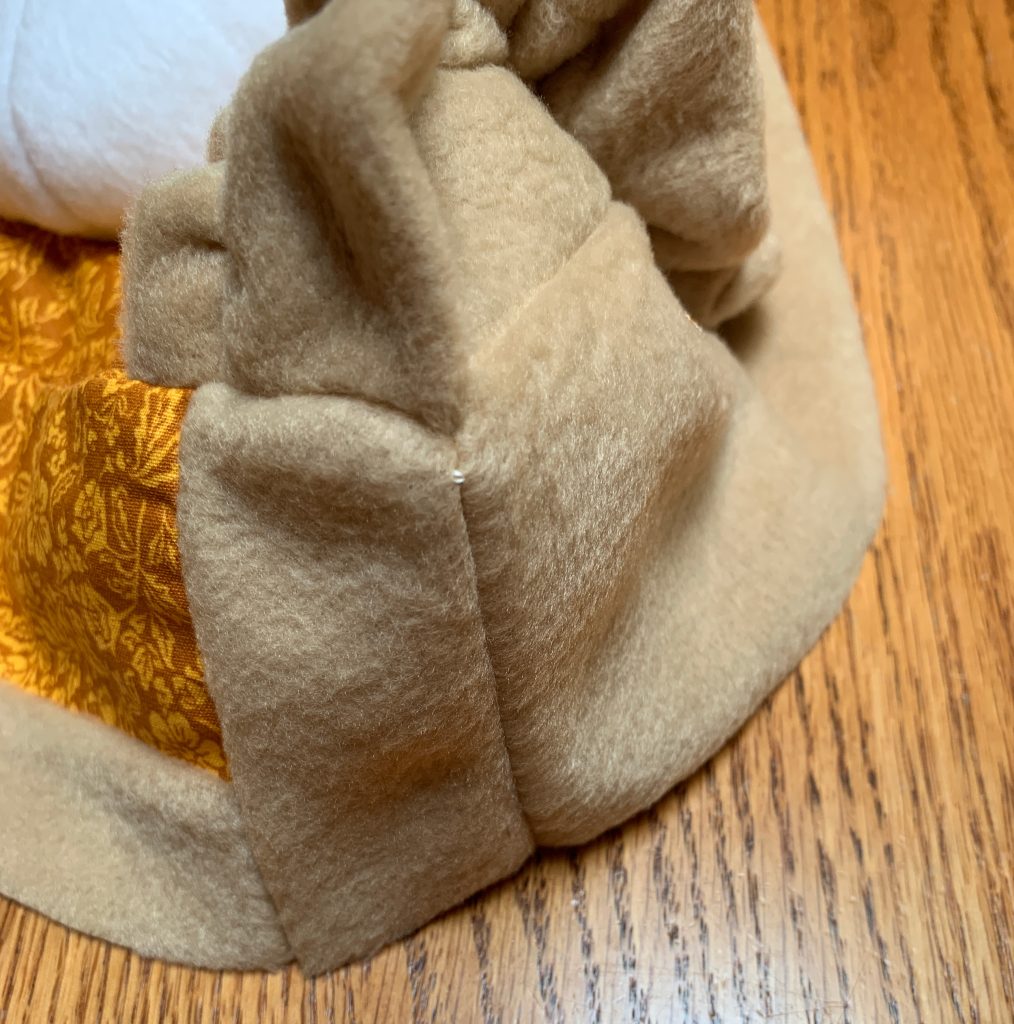
Line up one side onto the top piece. Sew the top and side together, stopping 1/4 inch from each end and backstitch. At the point end, the stitching should stop at the seam. And at the crust end, the ruffle and top crust should be included into the stitching.
Then line up the other side to the top and sew in the same way, keeping the first side folded away, so it doesn’t get caught up in the stitching.
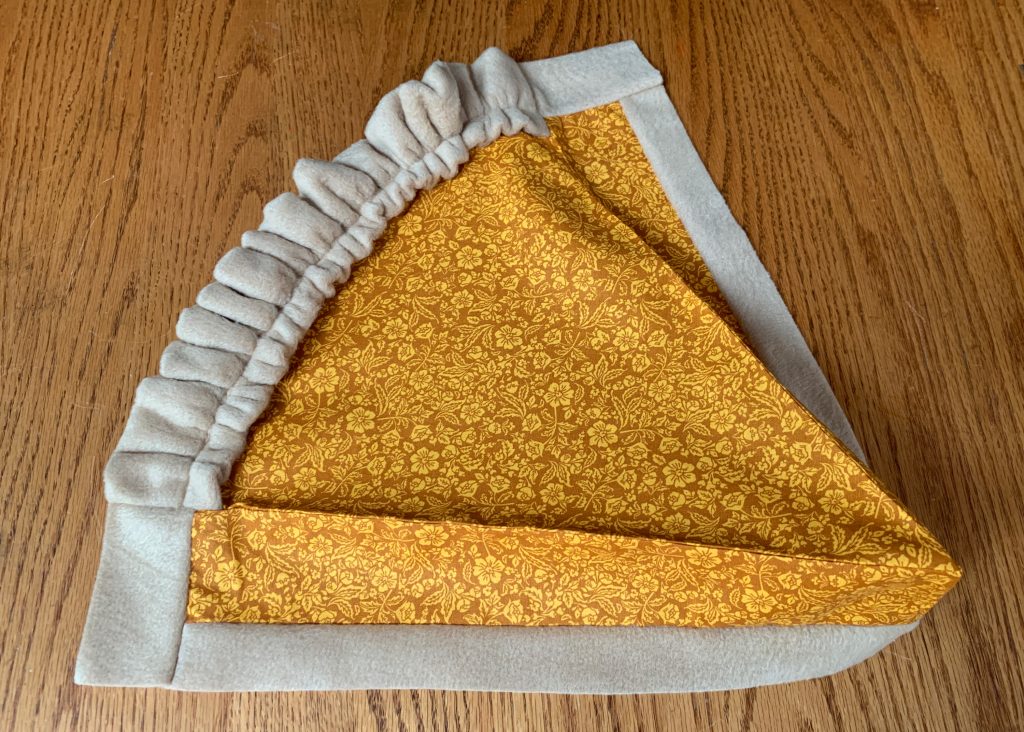
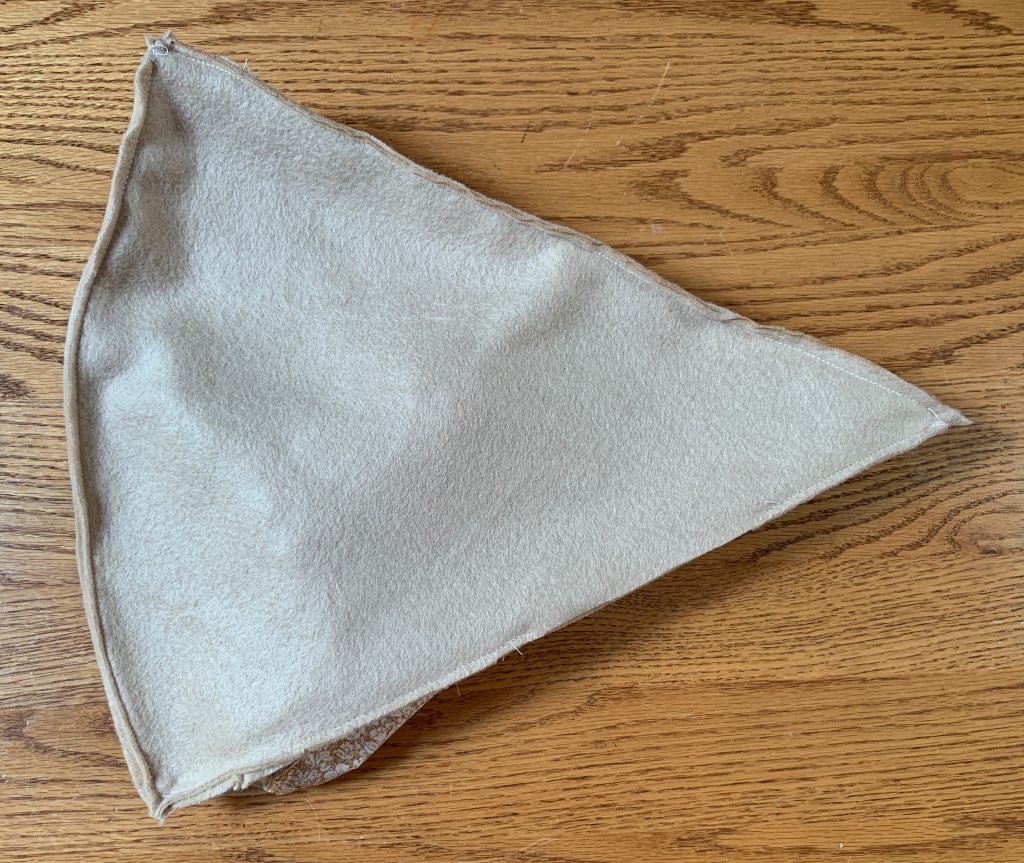
Iron the seams to make crisp edges. The pie should now look like the image below.
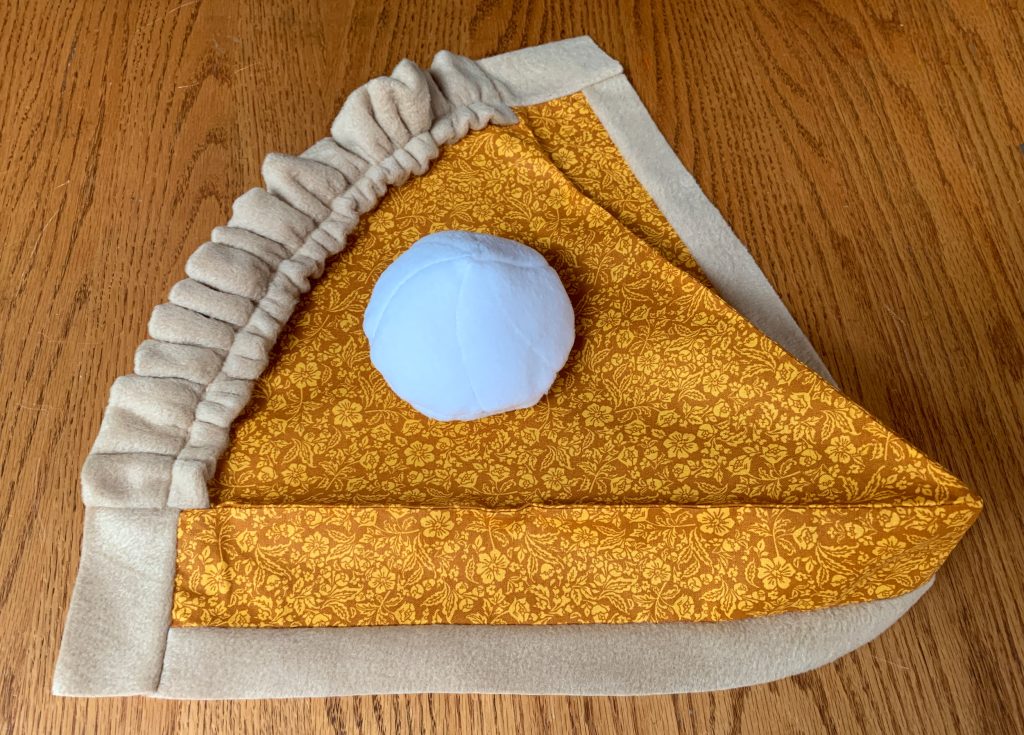
Next, add the whipped cream dollop in place, flip to the wrong side and pin.
Hand sew the dollop from the wrong side in a circle, about 1/2 from the dollop edge as shown below.

To add the crust along the back of the pie piece, cut a crust piece 18 x 3.75 inches. Sew the back piece onto one side piece along the 3.75 ends, right sides together, stopping 1/4 from both ends and backstitch.
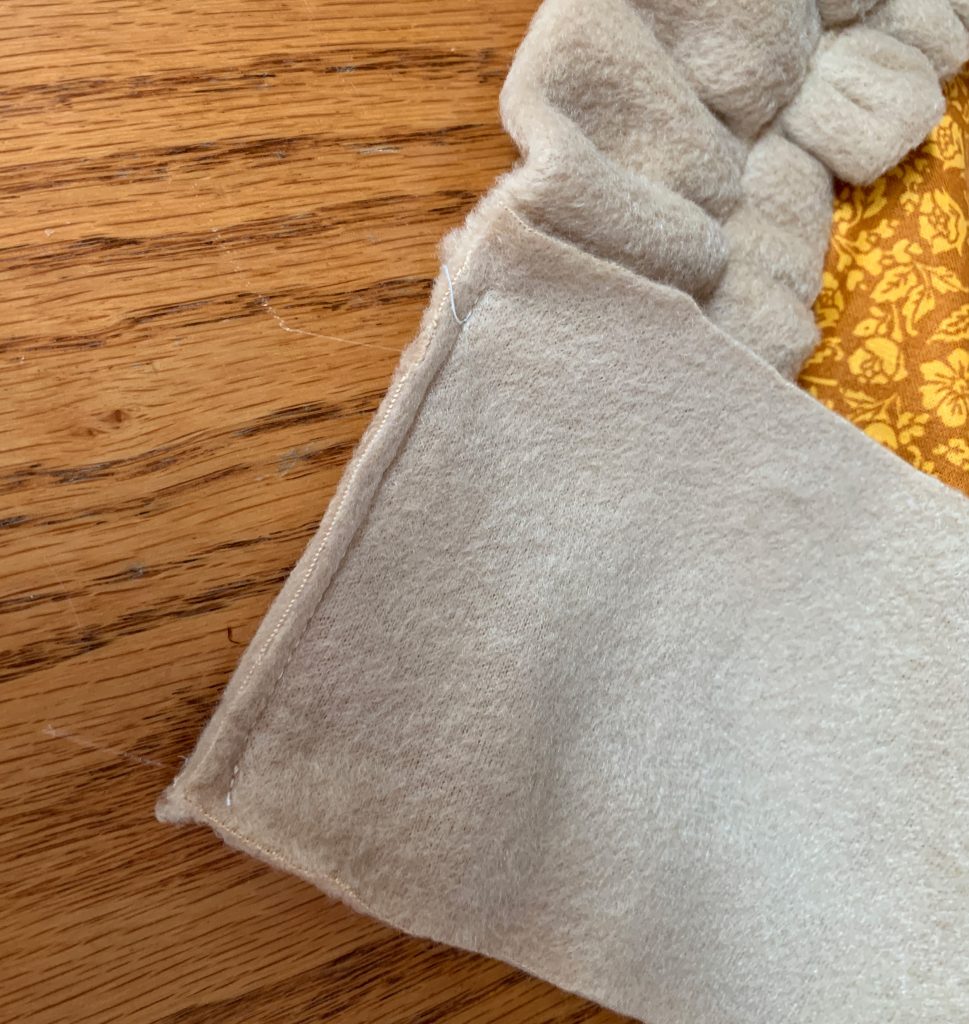
Flip the back crust piece to line up along the back of the pie, right sides together. Sew along the back arc, keeping the ruffle away from the stitching, stopping at 1/4 inch from the end and backstitch.

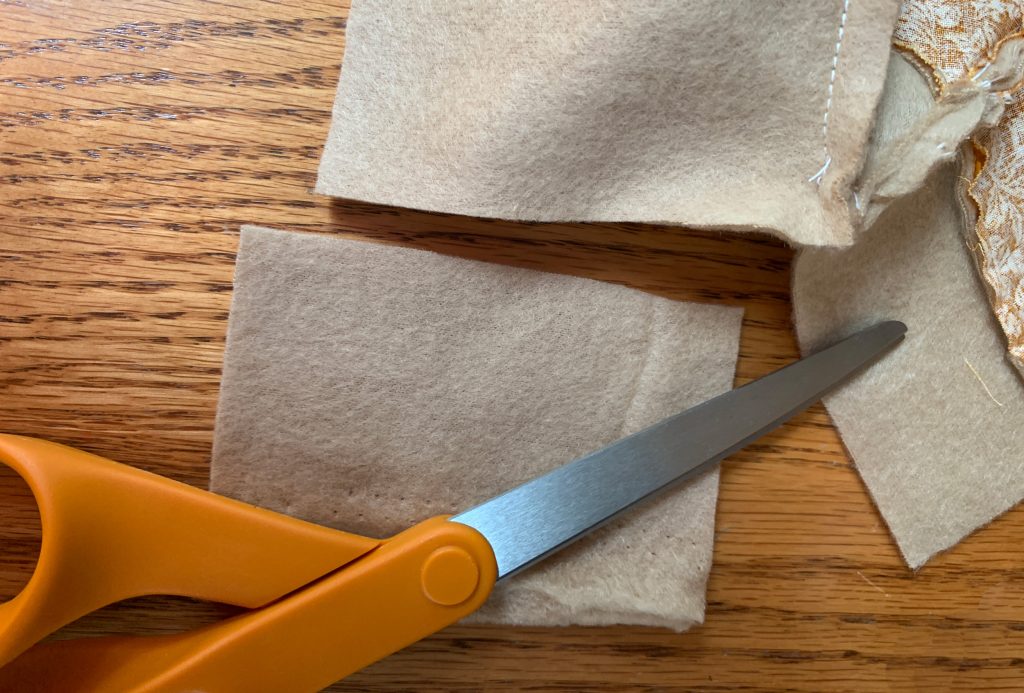
Cut the excess back crust off, leaving a 1/4 seam allowance.
Then sew the second side to the back to finish. Turn right sides out and the whole pie should be sewn together, except the bottom. Iron the back seam so the edge is crisp.
Finally, sew bottom piece onto the pie, one edge at a time, stopping at 1/4 from the ends and backstitch. Turn to the next side and start a new stitching, 1/4 inch from the ends each time. Be sure to leave an opening to add the stuffing. Make the opening in the center of one side so all the corners are finished before stuffing.
Turn right sides out, gently poke out all the corners and iron all the edges to make them crisp. Carefully stuff with polyfil, without stretching the fabric at the opening. Hand stitch closed.
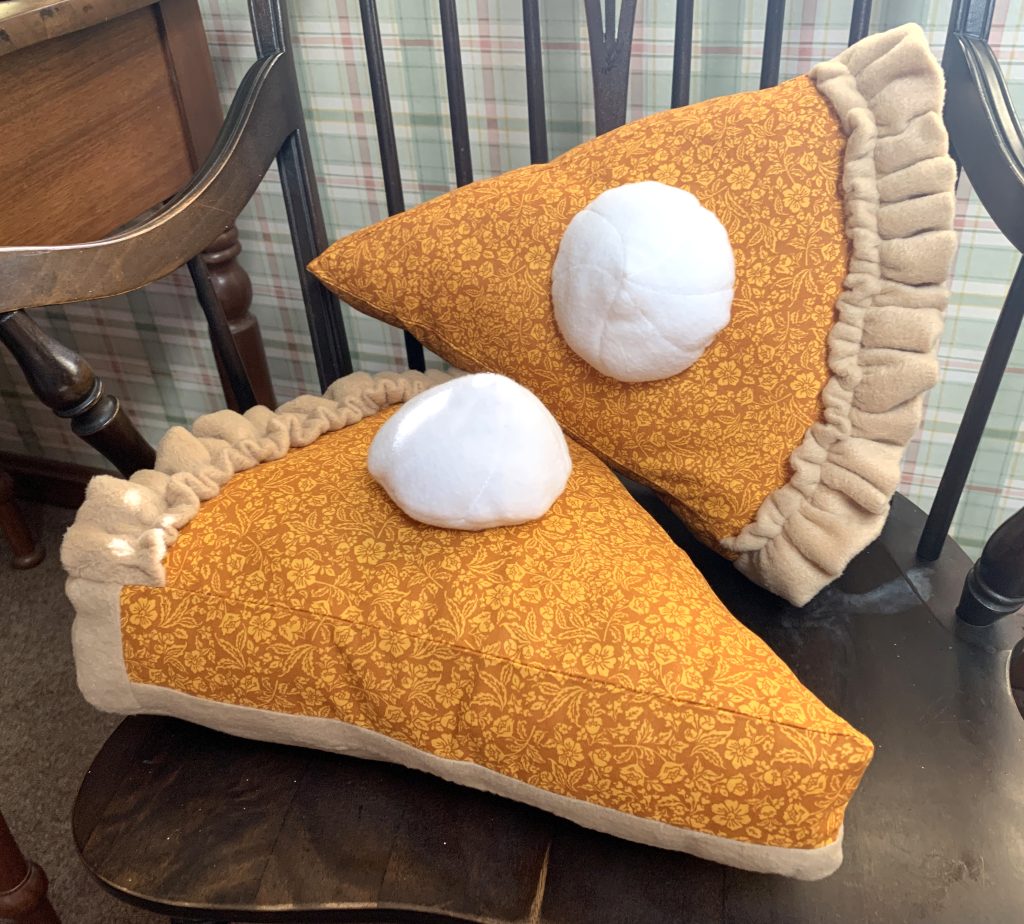
Voila! Your pumpkin pie pillow is done! Enjoy your new yummy fall decor!
Leave A Comment