Sew a Thanksgiving Table Runner with Fall Leaf Quilt Blocks
Supplies:
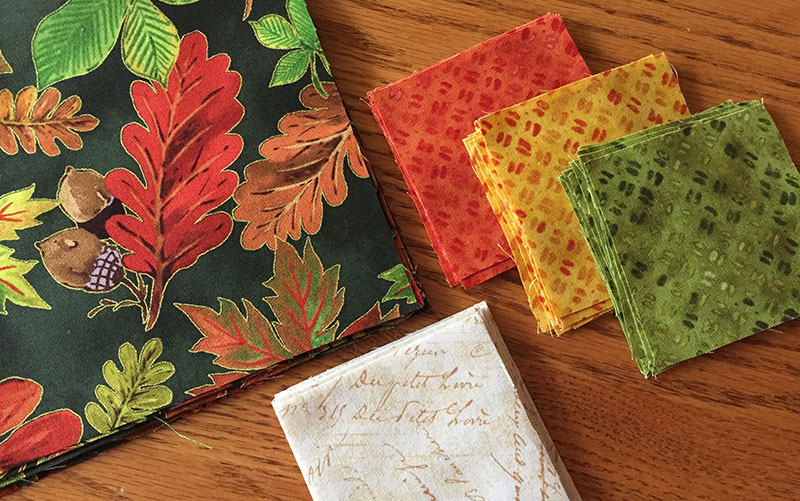
2/3 Yard Large Print Fabric (E)
1/4 Yard Each of 3 Leaf Fabrics (A,B,C)
1/3 Yard Leaf Background Fabric (D)
Backing Fabric (I use inexpensive solid off-white cotton fabric)
Thread, pencil, small ruler
Cut Squares: (This makes 12 leaves, 4 of each color)
16 2 1/2 inch squares of leaf fabrics (A,B,C)
12 2 1/2 inch squares of leaf background fabric (D)
8 2 7/8 inch squares of leaf fabrics (A,B,C)
24 2 7/8 inch squares of leaf background fabric (D)
24 2 inch squares of leaf background fabric (D)
5 7 3/8 inch squares of large print fabric (E)
7 6 1/2 inch squares of large print fabric (E)
Sew Together Leaf Blocks:
1. Make half square triangles using the 2 7/8 inch squares:
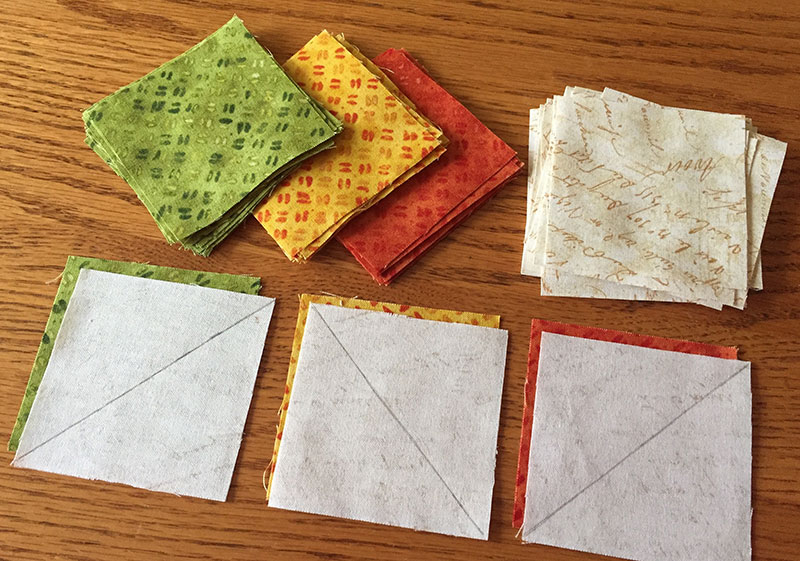
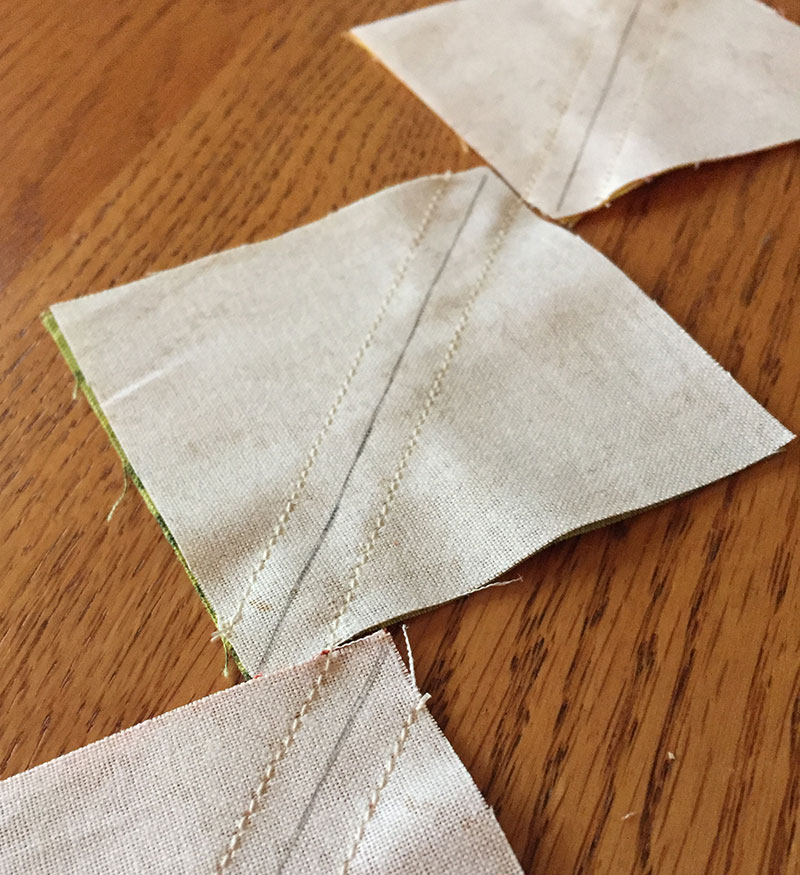
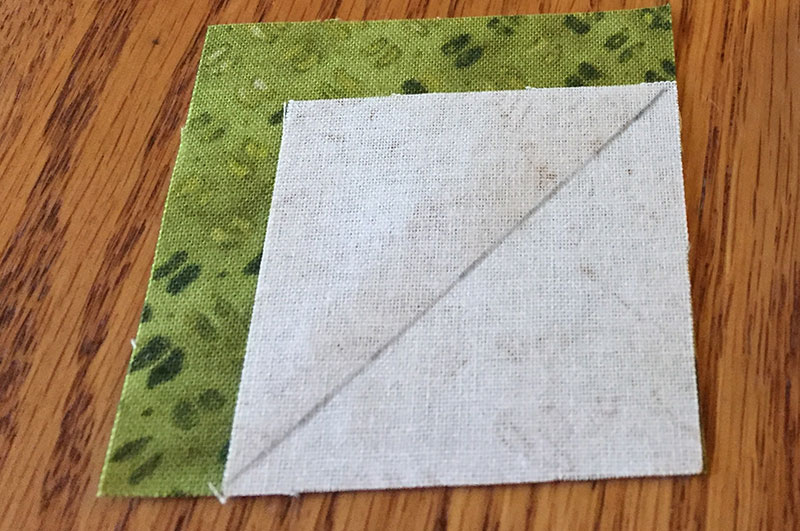
Draw a diagonal line on all the leaf background fabric (D) squares to use as a sewing guide.
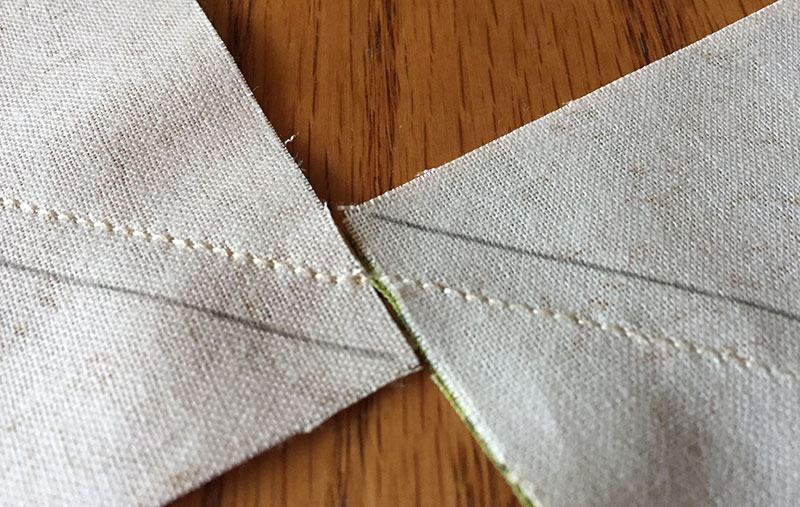
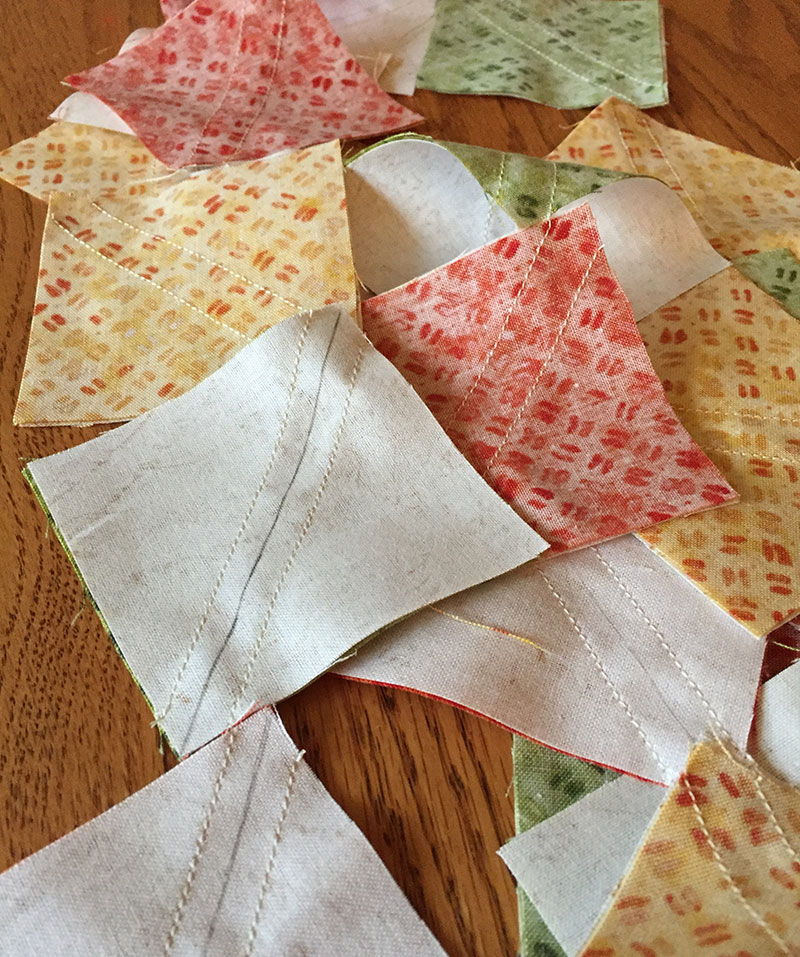
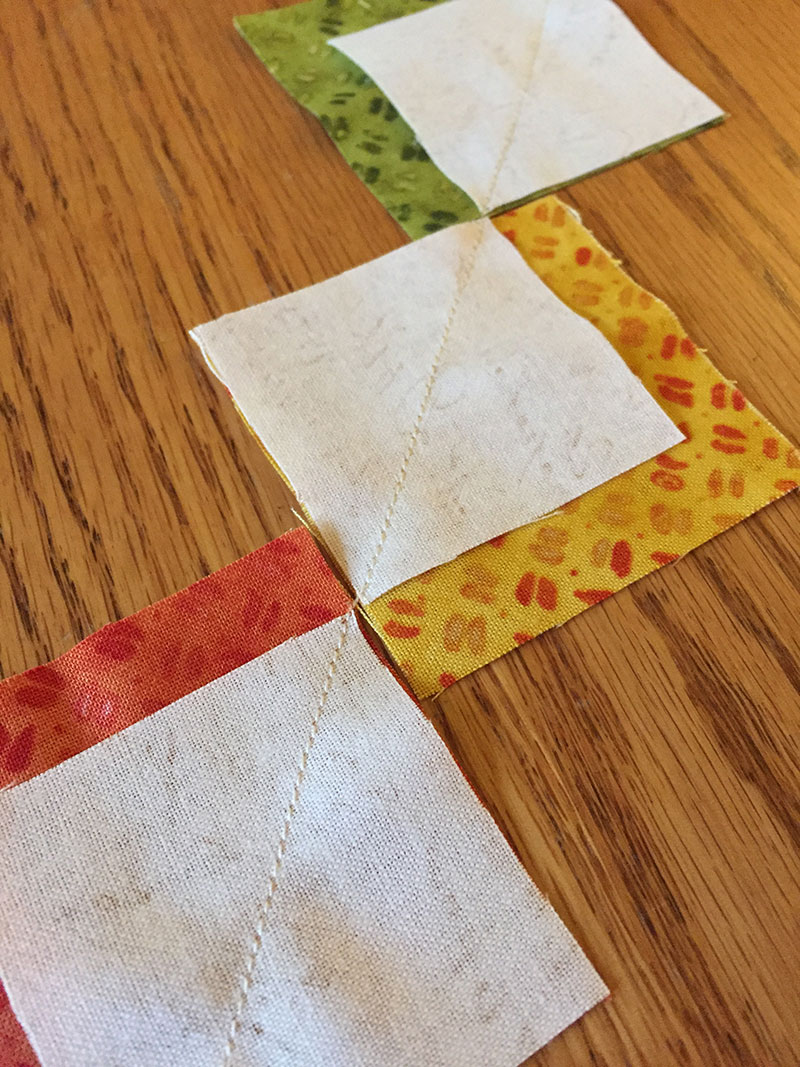
Place leaf background fabric (D) and leaf fabric squares (A,B,C) RST and sew 1/4 inch away from line on both sides.
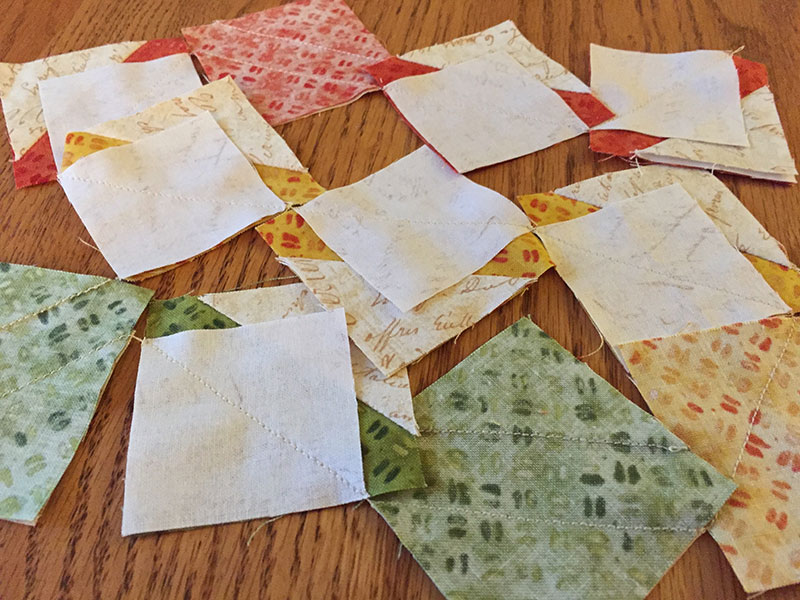
Tips for Success: Sew in a chain to avoid starting your stitching at a point of fabric and wasting thread.
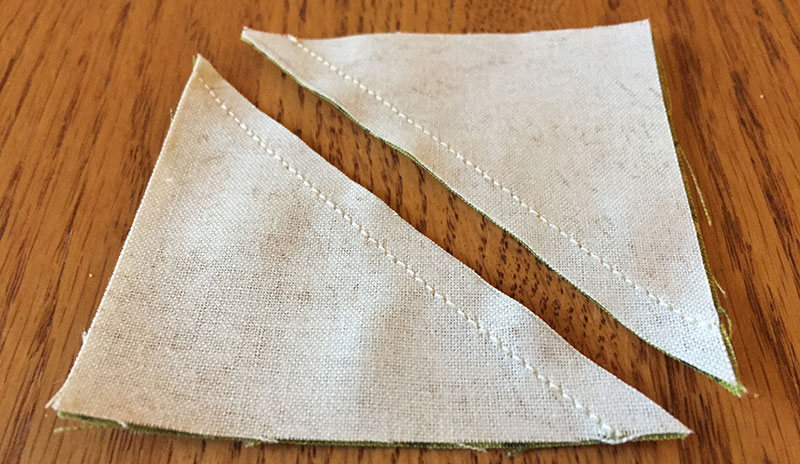
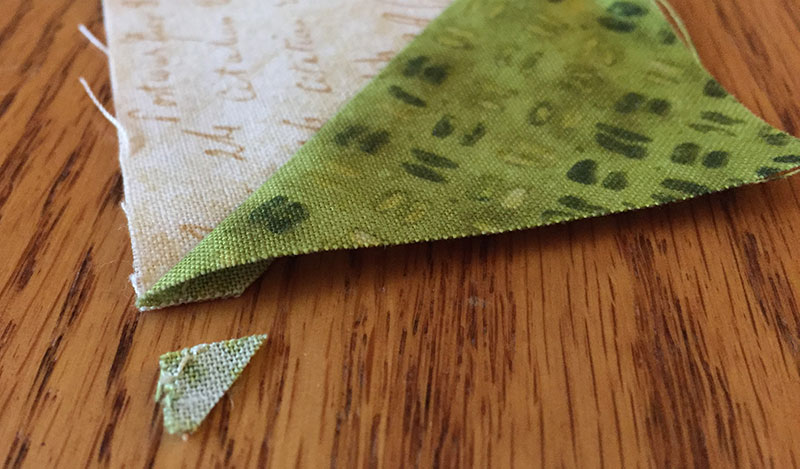
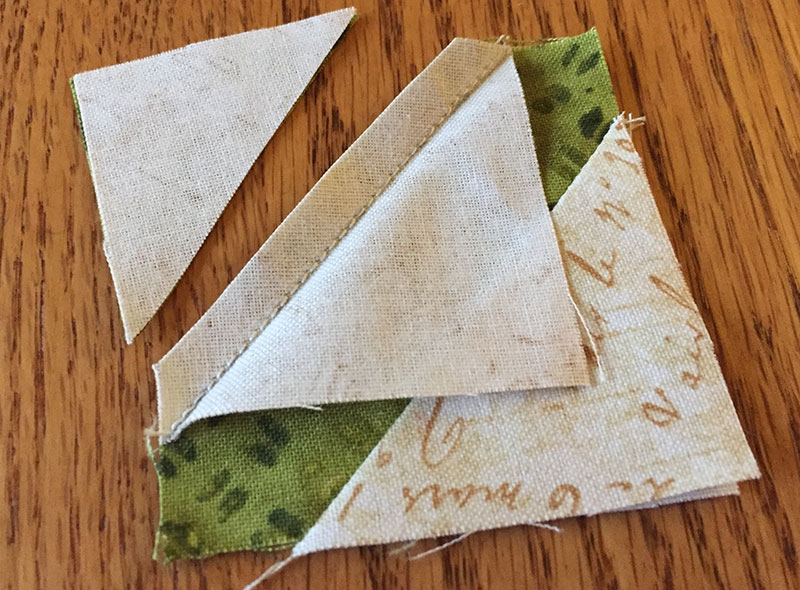
Cut each square along line. Press open with seam allowance away from leaf background fabric. Trim points. The final squares should now be 2 1/2 inches.
2. Make stem squares using the 2 inch squares:
Draw a diagonal line on all the 2 inch leaf background fabric (D) squares to use as a sewing guide.
Place 2 inch squares on top of the 2 1/2 inch leaf fabric squares (A,B,C – 4 of each color, to make 12 stem squares total) and sew along the line.
Tips for success: Sew in a chain to avoid starting your stitching at a point of fabric and wasting thread.
Repeat on the opposite corner of the squares.
Press and trim away excess fabric, leaving a 1/4 inch seam allowance.
3. Assemble the leaf blocks:
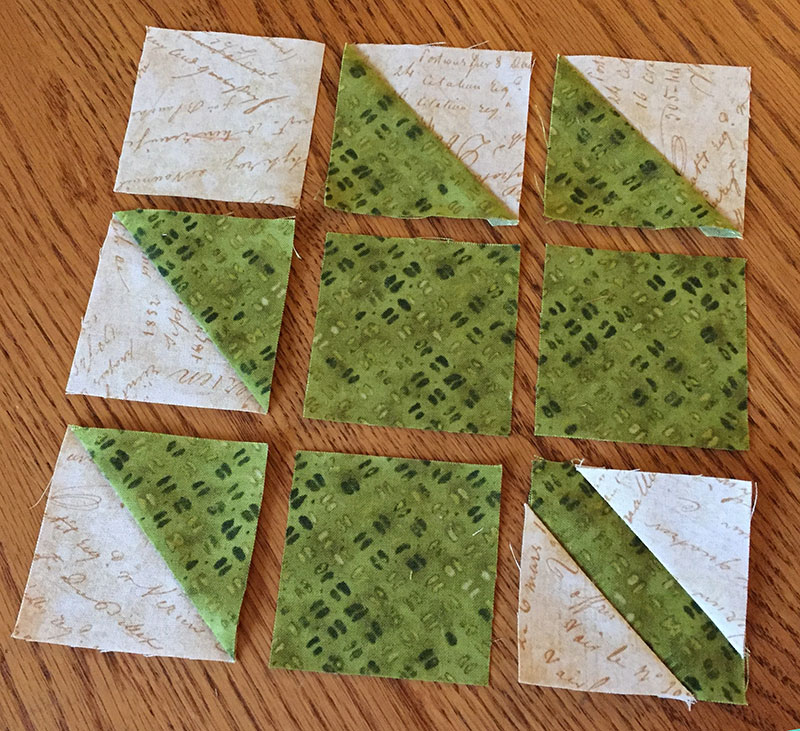
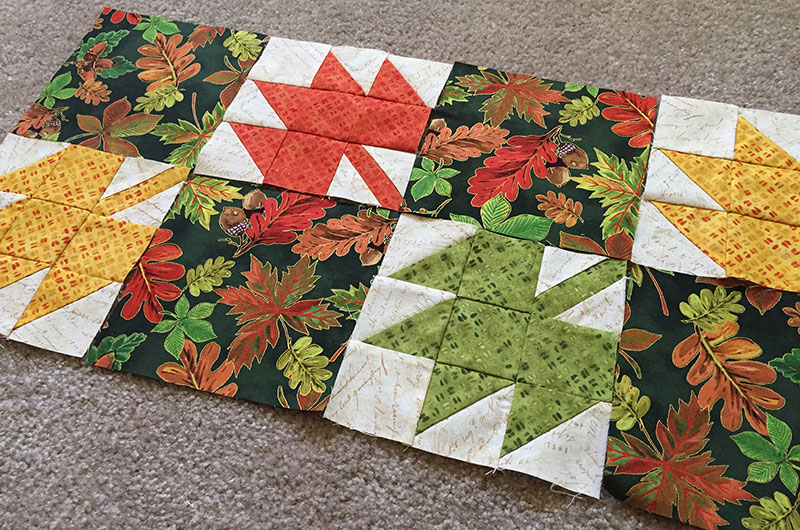
Organize squares into leaf blocks for easier assembly.
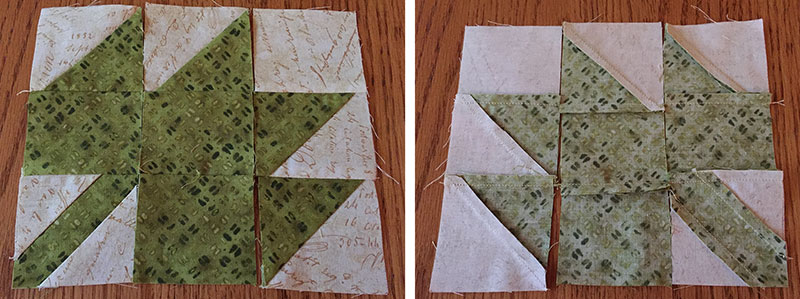
Sew rows together, press with seams going in alternating directions.
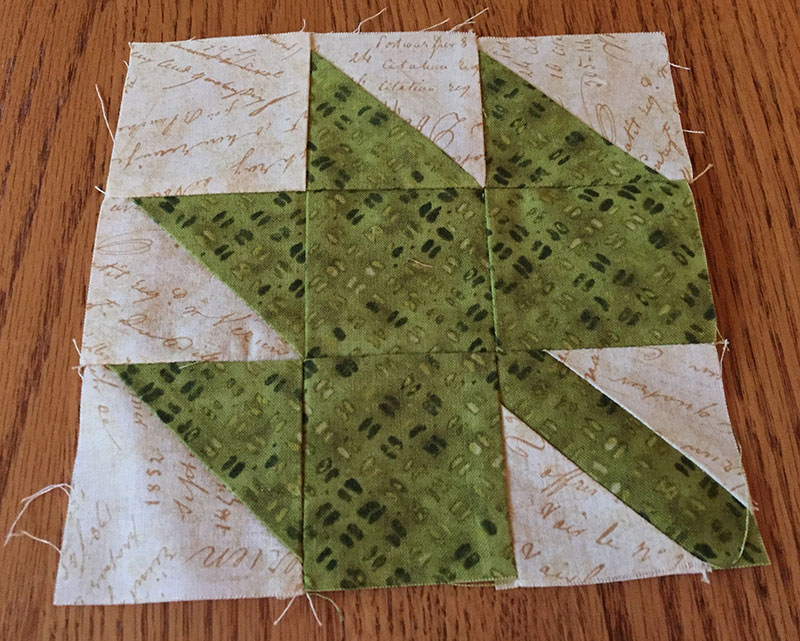
Sew columns together, matching seams and points, press seams.
The final squares should now be 6 1/2 inches.
4. Cut 7 3/8 inch squares into triangles:
Cut diagonally across entire square, corner to corner.
Tips for Success: Handle triangle carefully to not stretch the bias side.
5. Assemble table runner top:
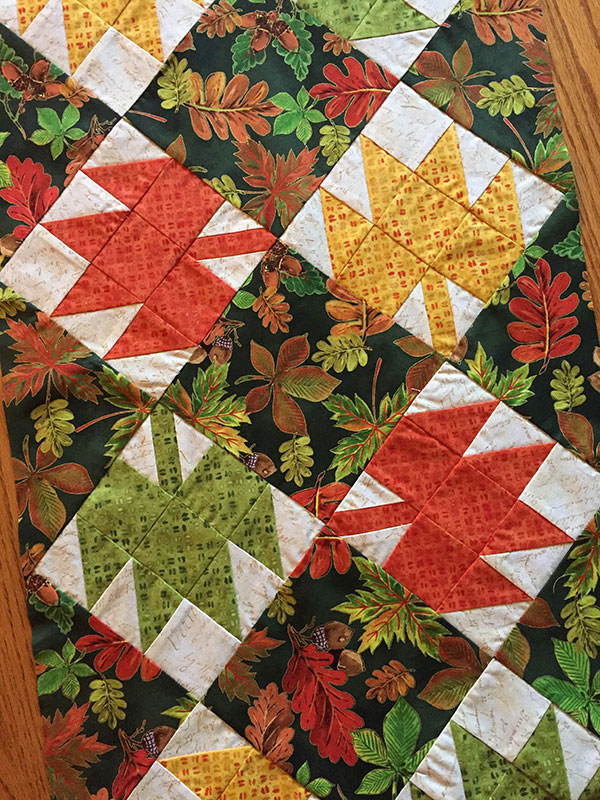
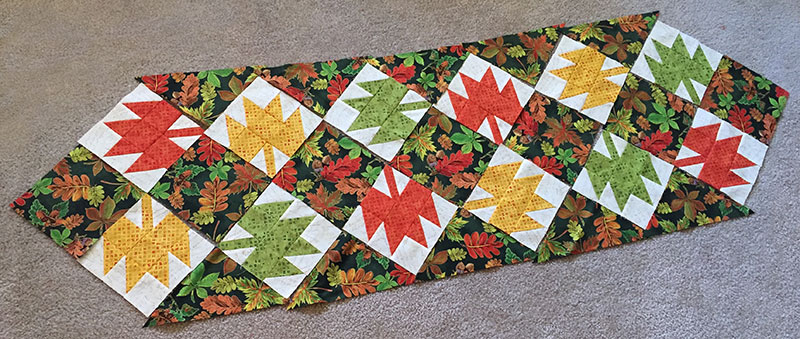
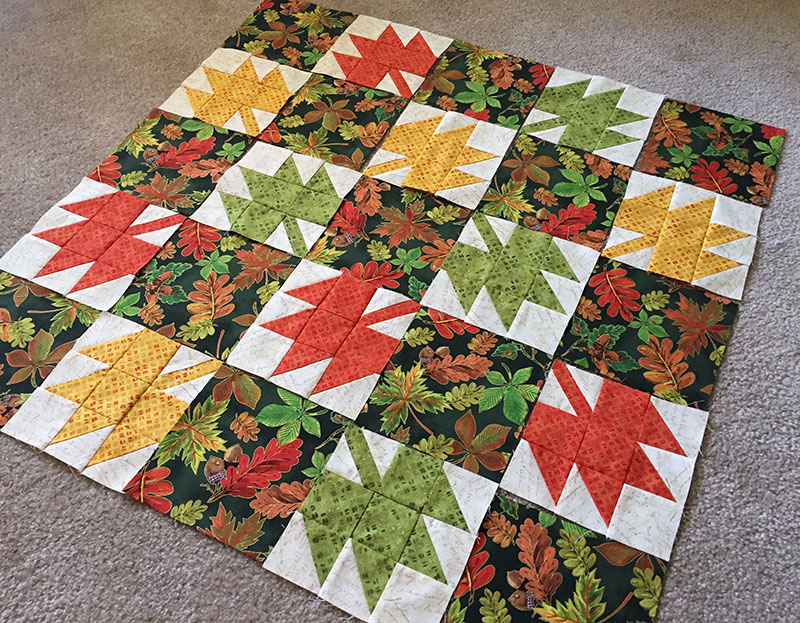
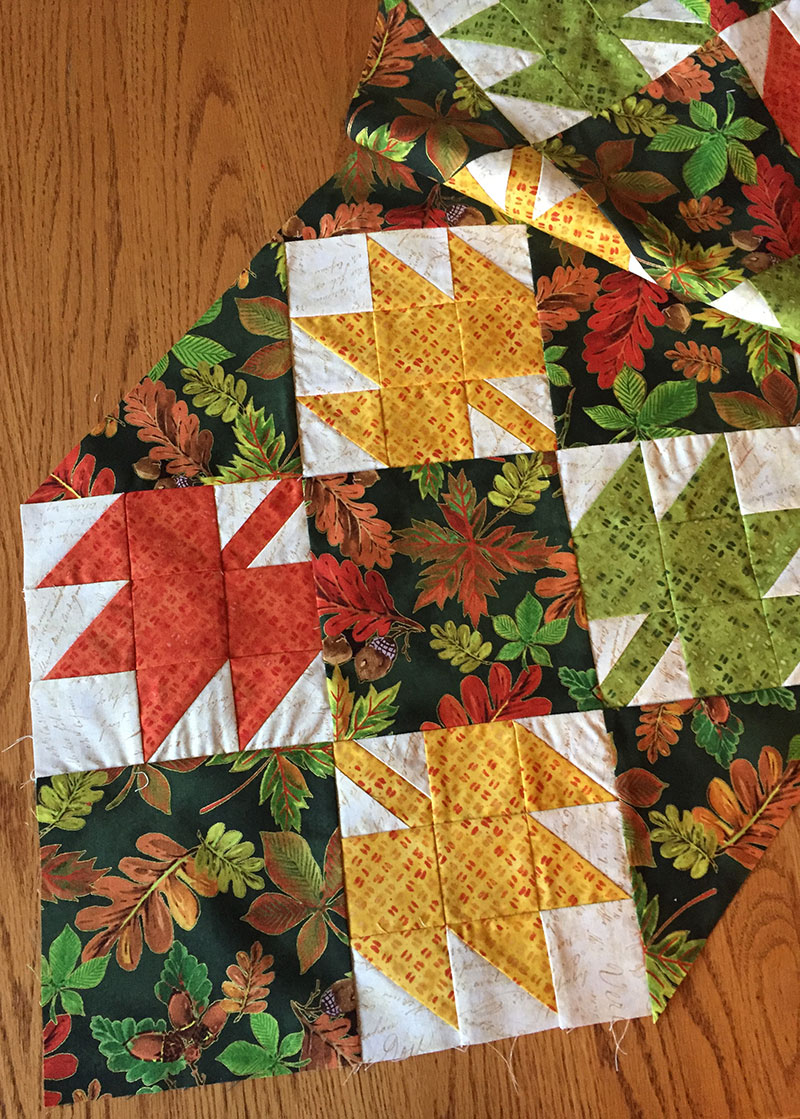
Lay out squares using the photo as a guide, with seven 6 1/2 inch blocks running up the middle.
Sew along square sides, diagonally along each row, adding a triangle each time.
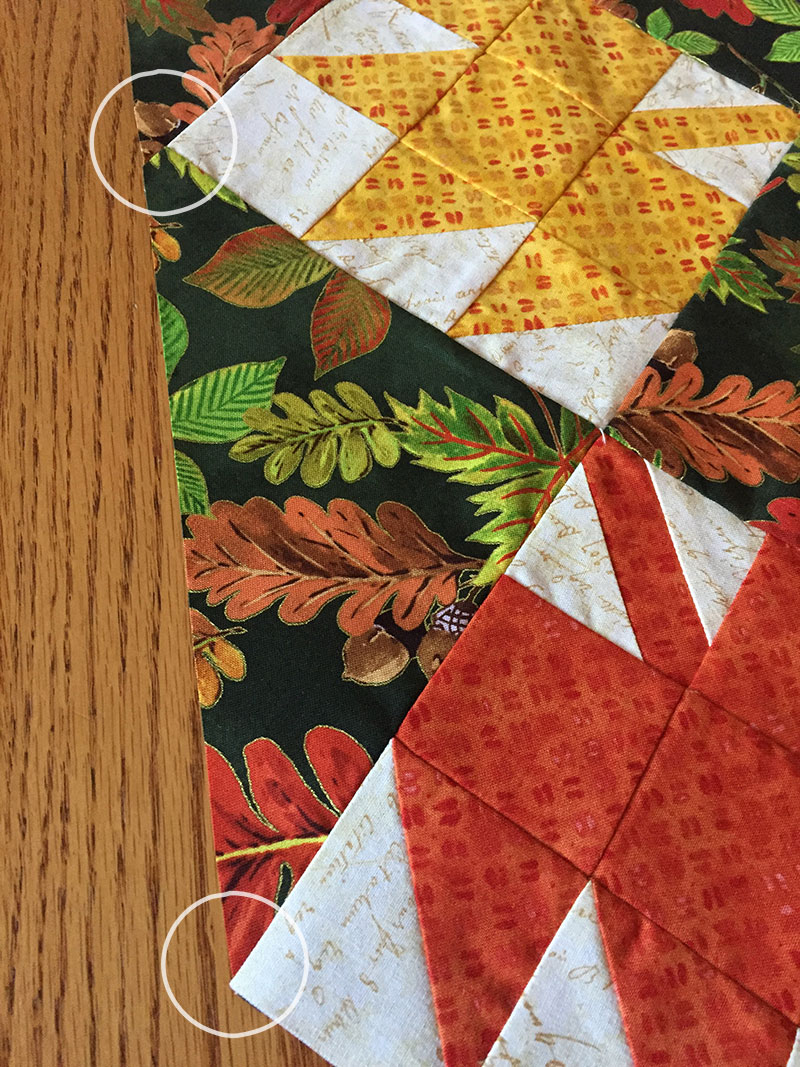
Trim along edge, leaving 1/4 inch seam allowance away from leaf square corners, and cutting exactly to the points at the two ends of the runner.
Press, avoiding stretching bias edges around outside of runner.
6. Finish as desired:
Place top and backing fabrics RST and stitch using 1/4 inch seam, and leaving an opening to turn right sides out. Turn and poke out corners, press. Stitch opening closed, and top stitch with simple lines running along edges of squares.
OR
Include batting and quilt as desired.
Tips for Success: This is a great opportunity to practice some free motion quilting! Smaller projects are easier to move under your needle and you get quick results.
Alternate Layouts using the same blocks:
You can also make a 30 x 30 inch table topper with the same 12 leaf blocks and 13 (6 1/2 inch) large print squares. Or a 72 x 12 inch table runner with 12 leaf blocks and 12 (6 1/2 inch) large print squares.
Check back for my quilted top. Right now, mine will remain a UFO…
And, of course, have a Blessed and Happy Thanksgiving!


Karen | 26th Oct 24
I can’t wait to get started on this. Wonderful instructions.
Alma | 5th Oct 24
Absolutely beautiful!!! Your instructions are easy to follow. Thank you !!
Robi | 21st Sep 24
This is beautiful!!! TY for sharing your pattern and instructions with us. Cheers from sunny FL 🙂
Karen | 10th Aug 24
Great instructions and I love the pattern. Thank you.
Bev | 25th Apr 24
Great instructions. Thank you.
Bev | 25th Apr 24
Thank you for your beautiful instructions. I am self teaching and your instructions were very helpful